Devlog #1.5 (Modelling)
This is a quick update on some stuff that was done in the modelling department over the break. This warranted a devlog of its own because there is a bit to go over and it might clog up other devlogs.
Method
The method for going about (most) of the models was to start with a high detail/high poly model, texture it, then bake it to a lower poly version of the model.
Meshes
There isn’t heaps to go over in the mesh part. The main goal for modelling these assets was keeping it as simple as possible and keep the low poly aesthetic in mind. The three meshes/assets made in the past week were:
- Barrel (another one)
- Crate
- Cannon
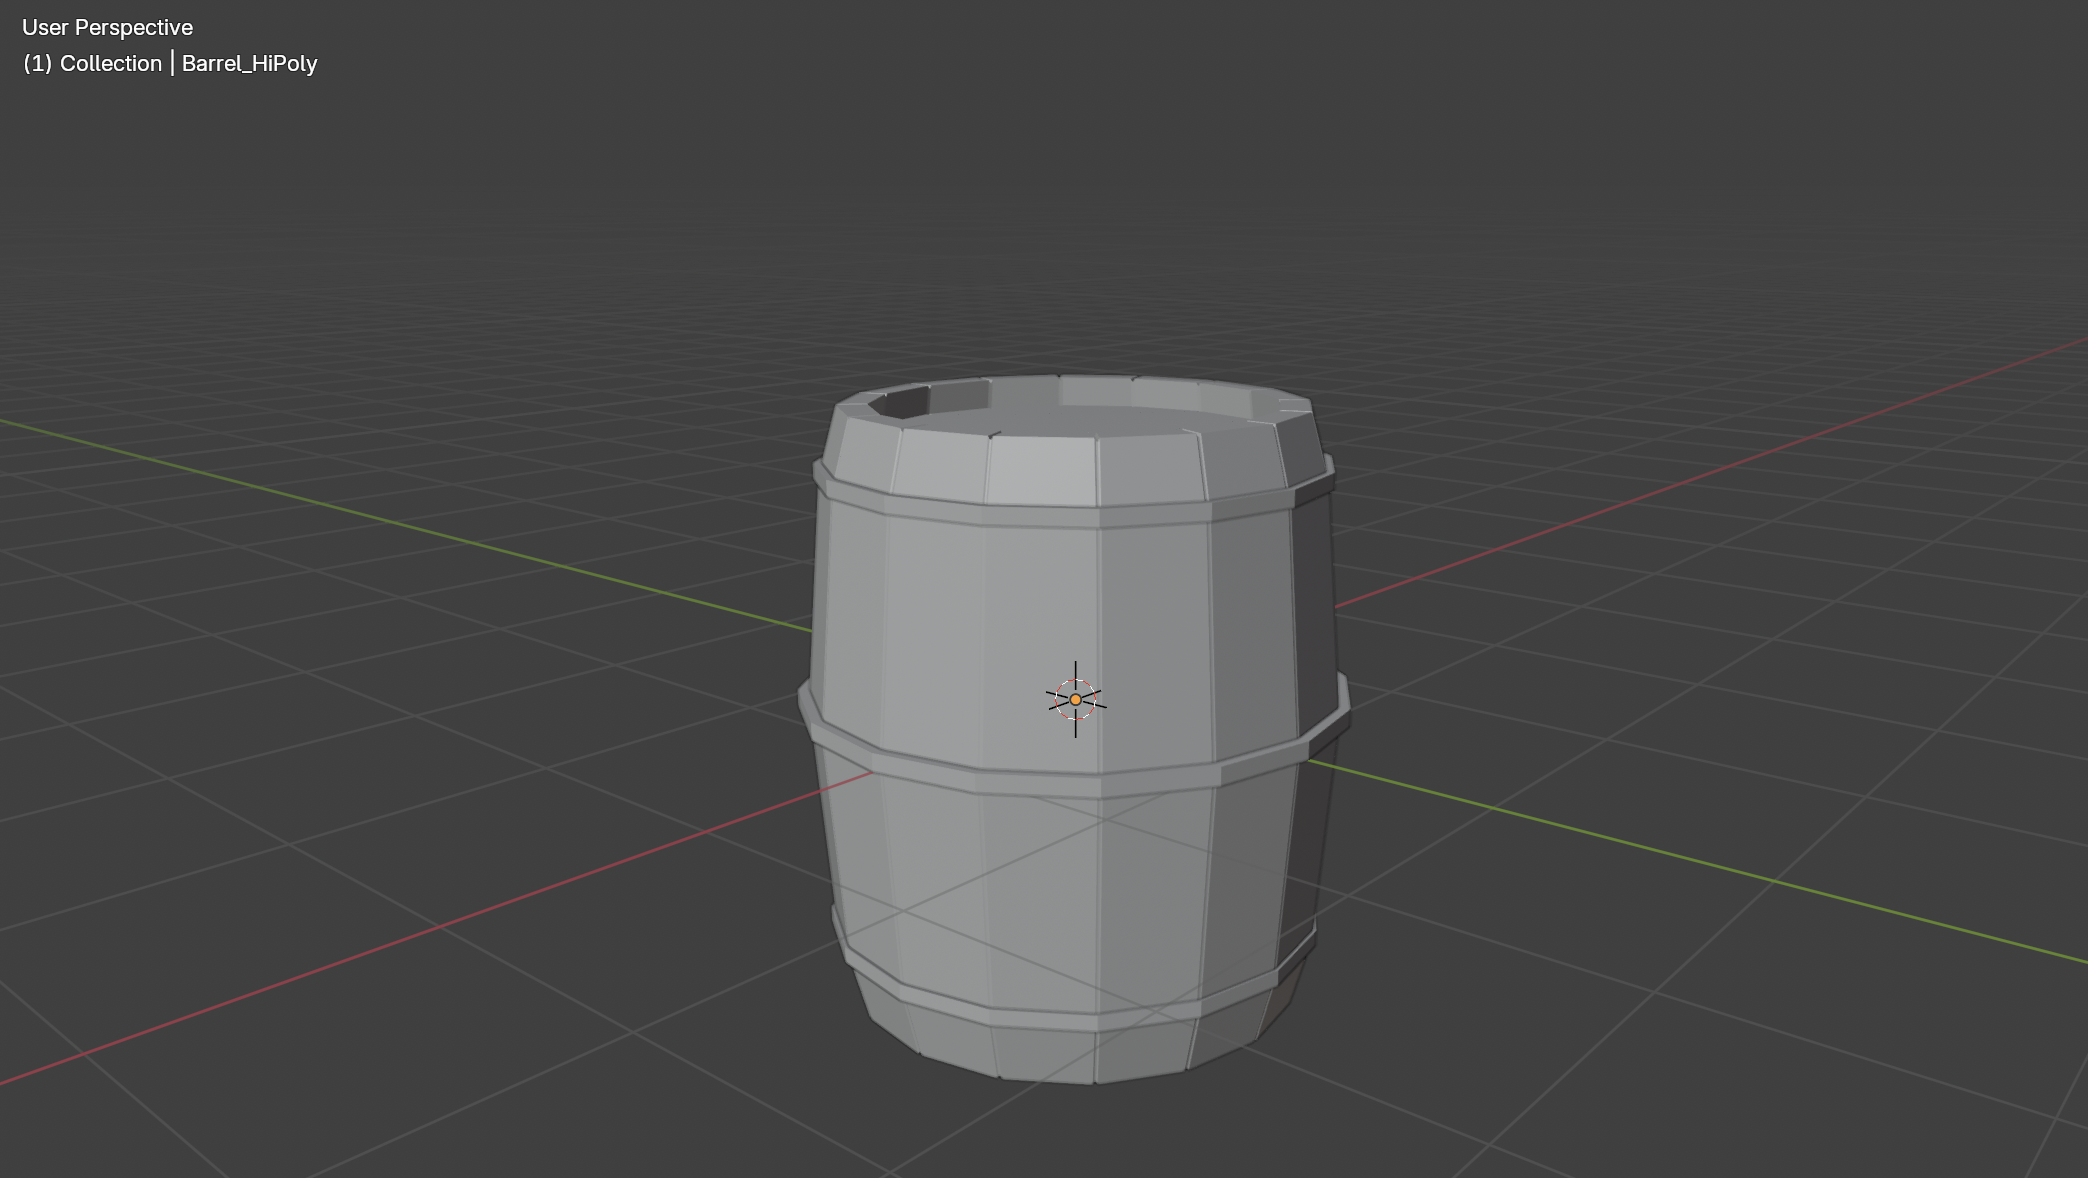
Barrel (high poly) Mesh
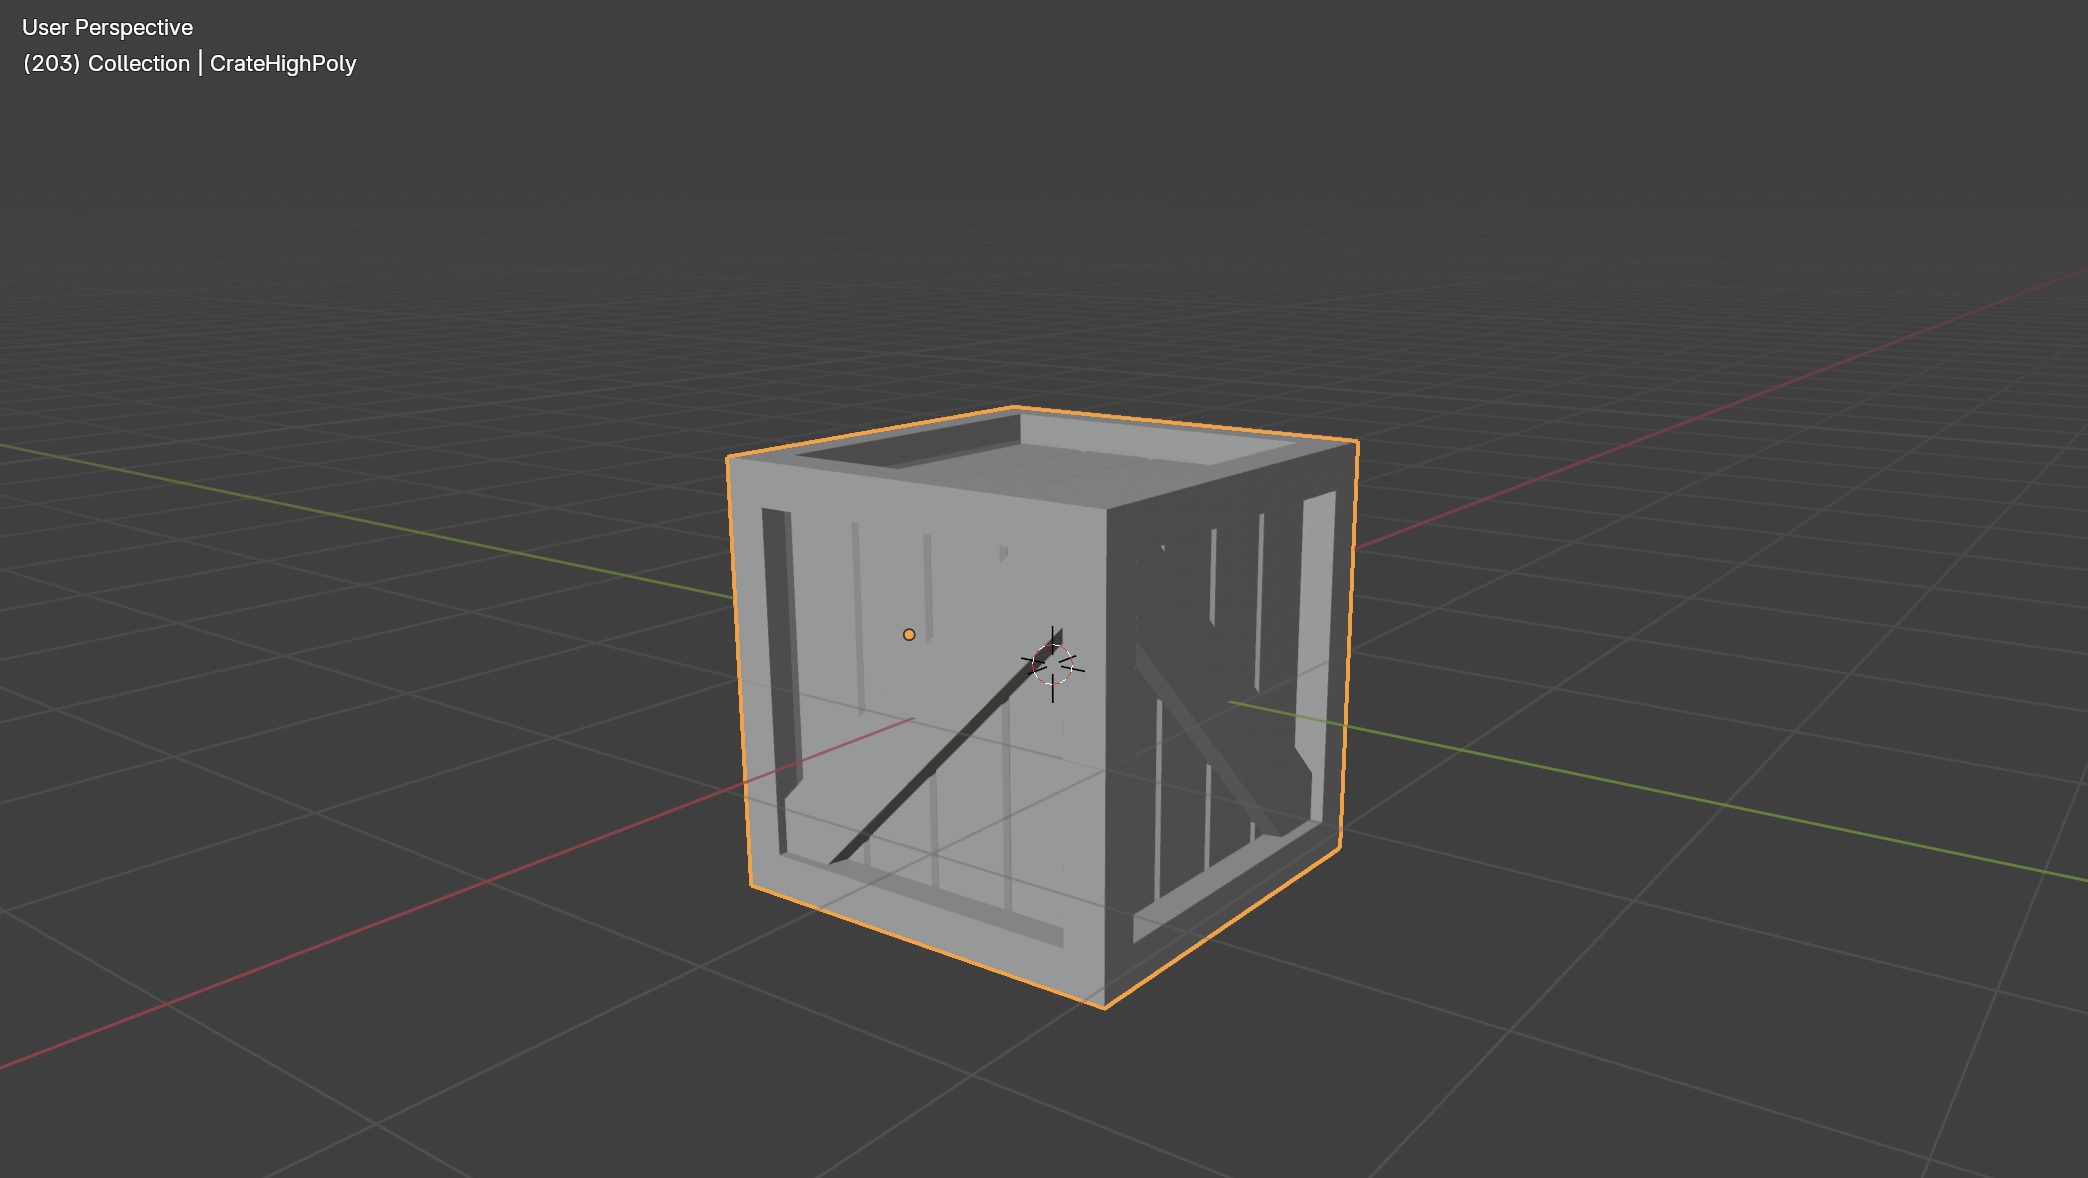
Crate (high poly) Mesh
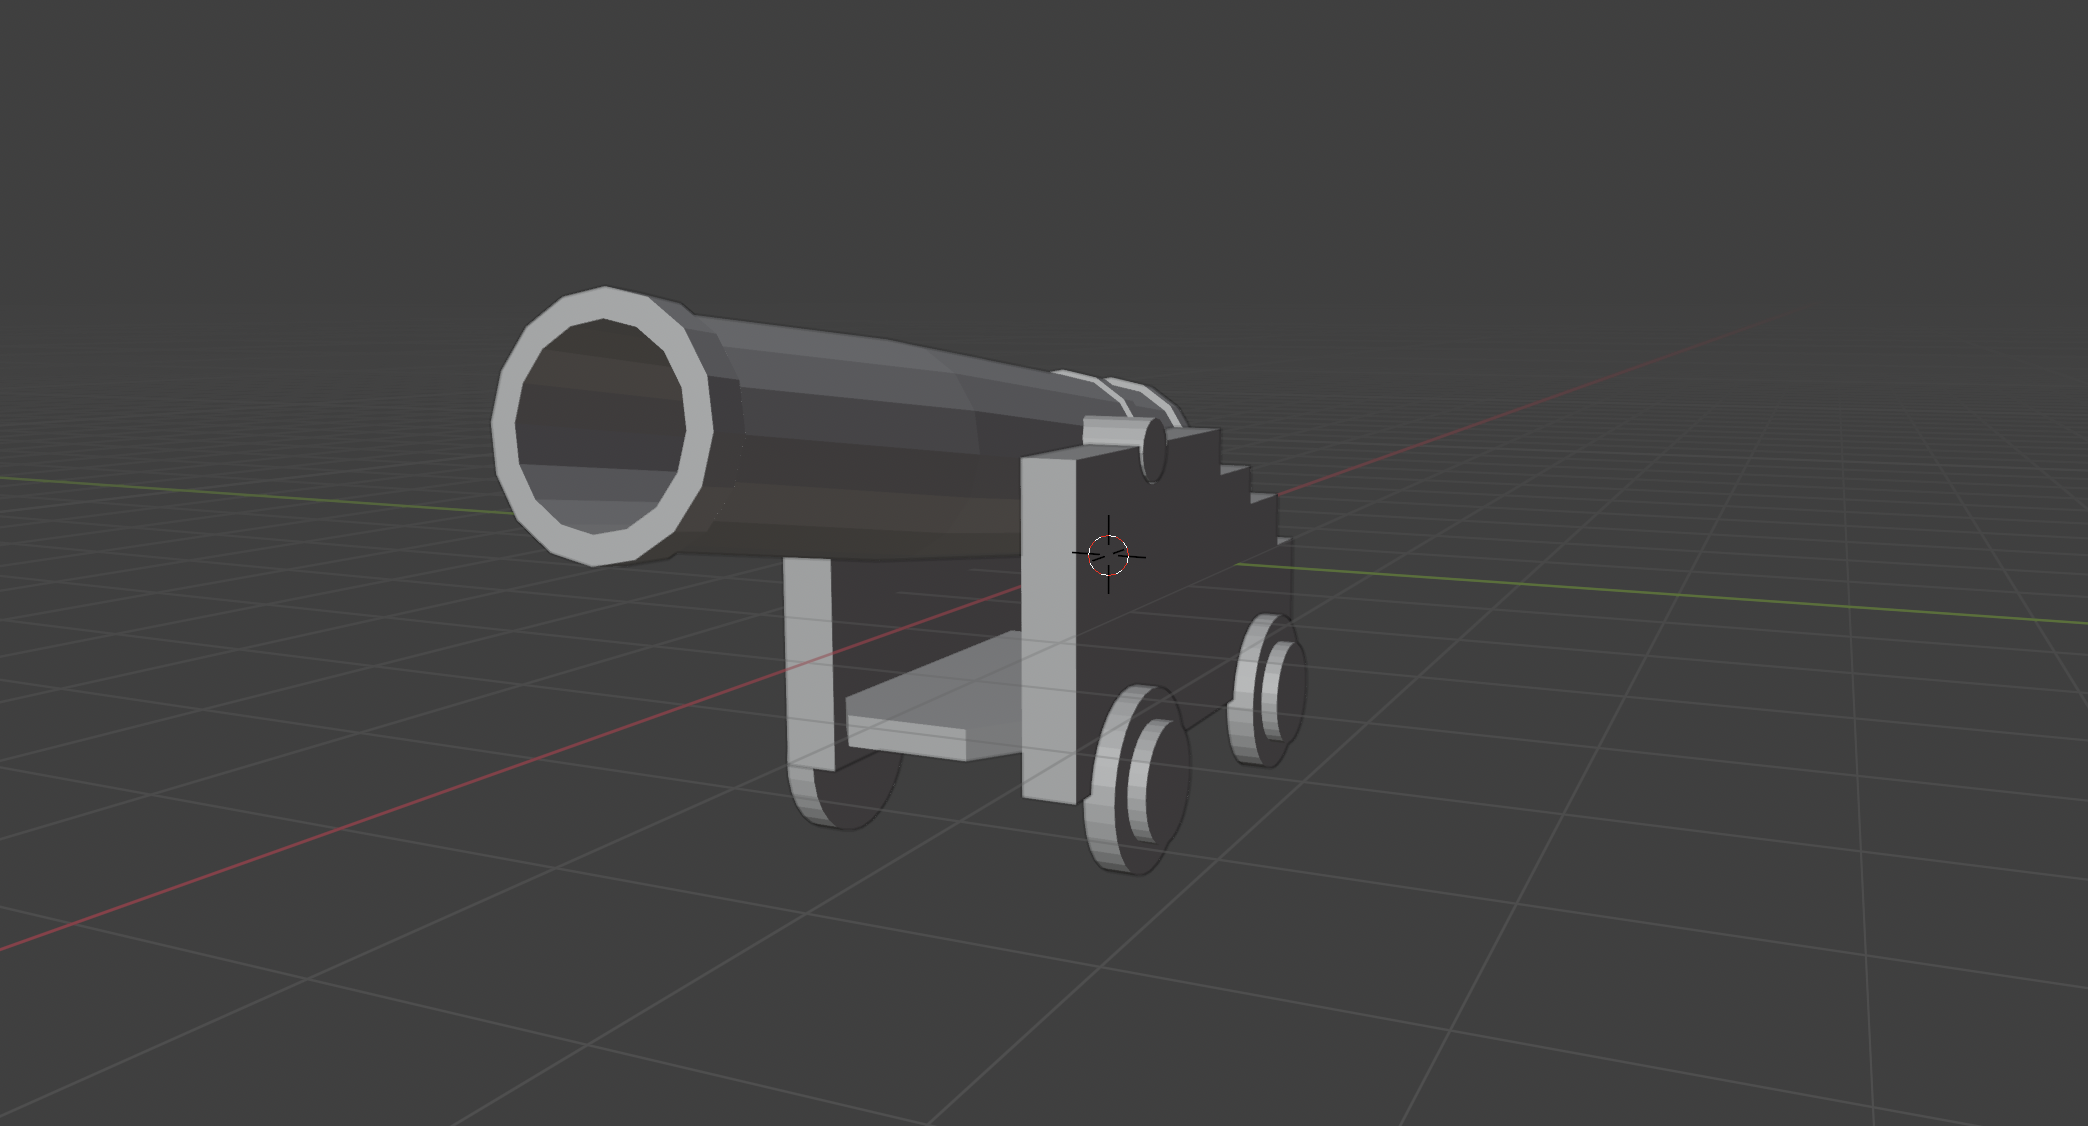
Cannon Mesh
UV Unwrapping
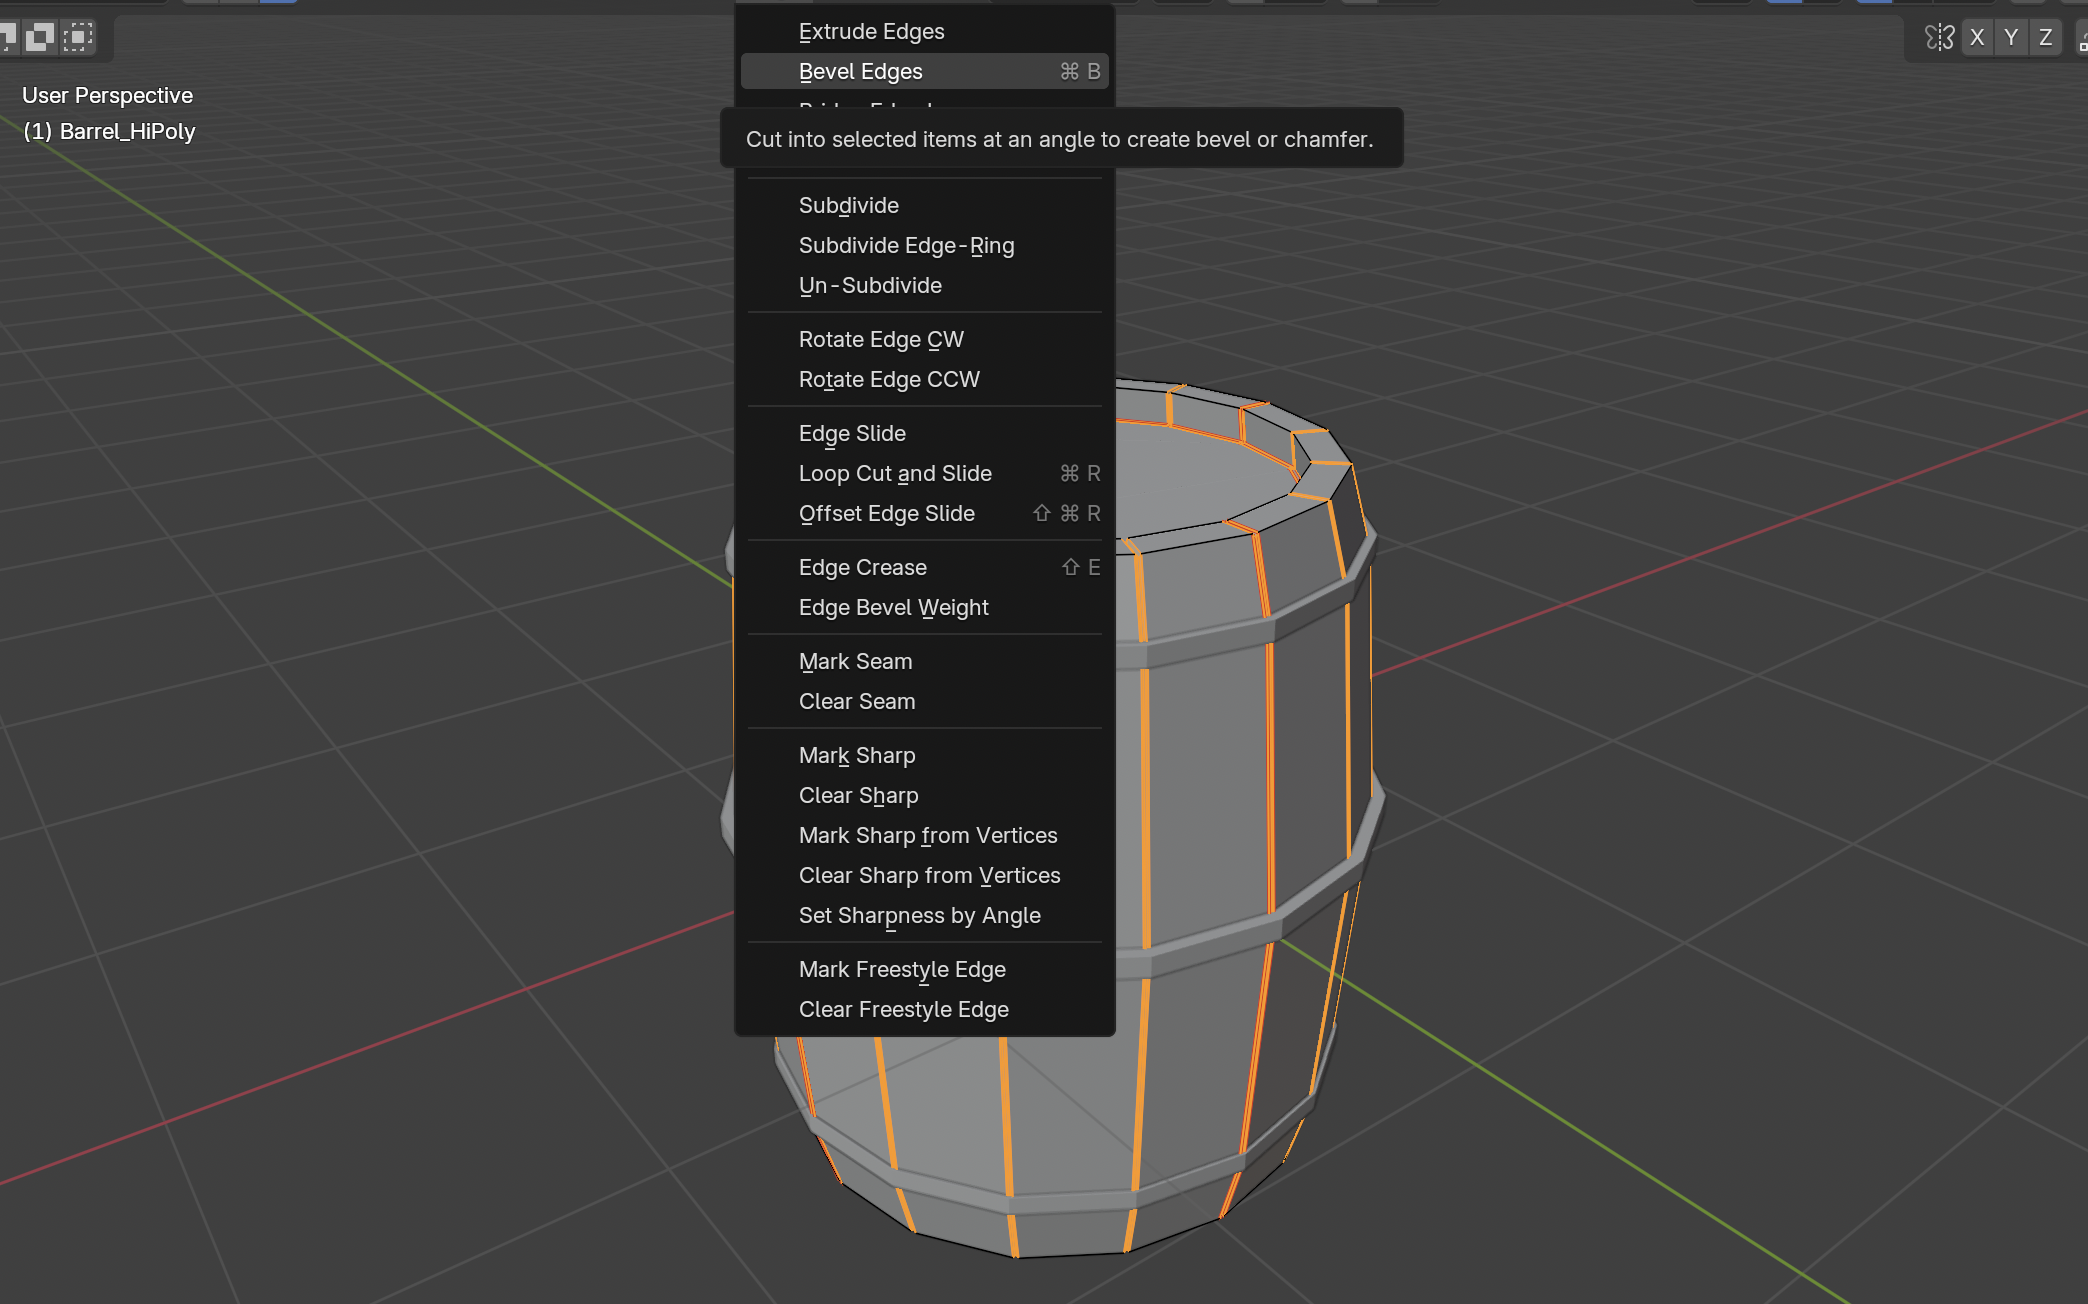
Some of the UV unwrapping got a little messy with the high poly models, although this isn’t all too important considering that these are temporary and as long as they can store normal and diffuse information without overlapping or warping too bad they should suffice.
For the sake of brevity I will not show all the UV maps considering some models have multiple components that have different UV maps. For the barrel, a simple cylinder unwrap worked just fine, as for the high poly crate, it got a bit more complicated because of the side planks and inset faces.

Crate UV
The cannon has 3 different components and therefore 3 different UV maps. Here are all of them overlaid:
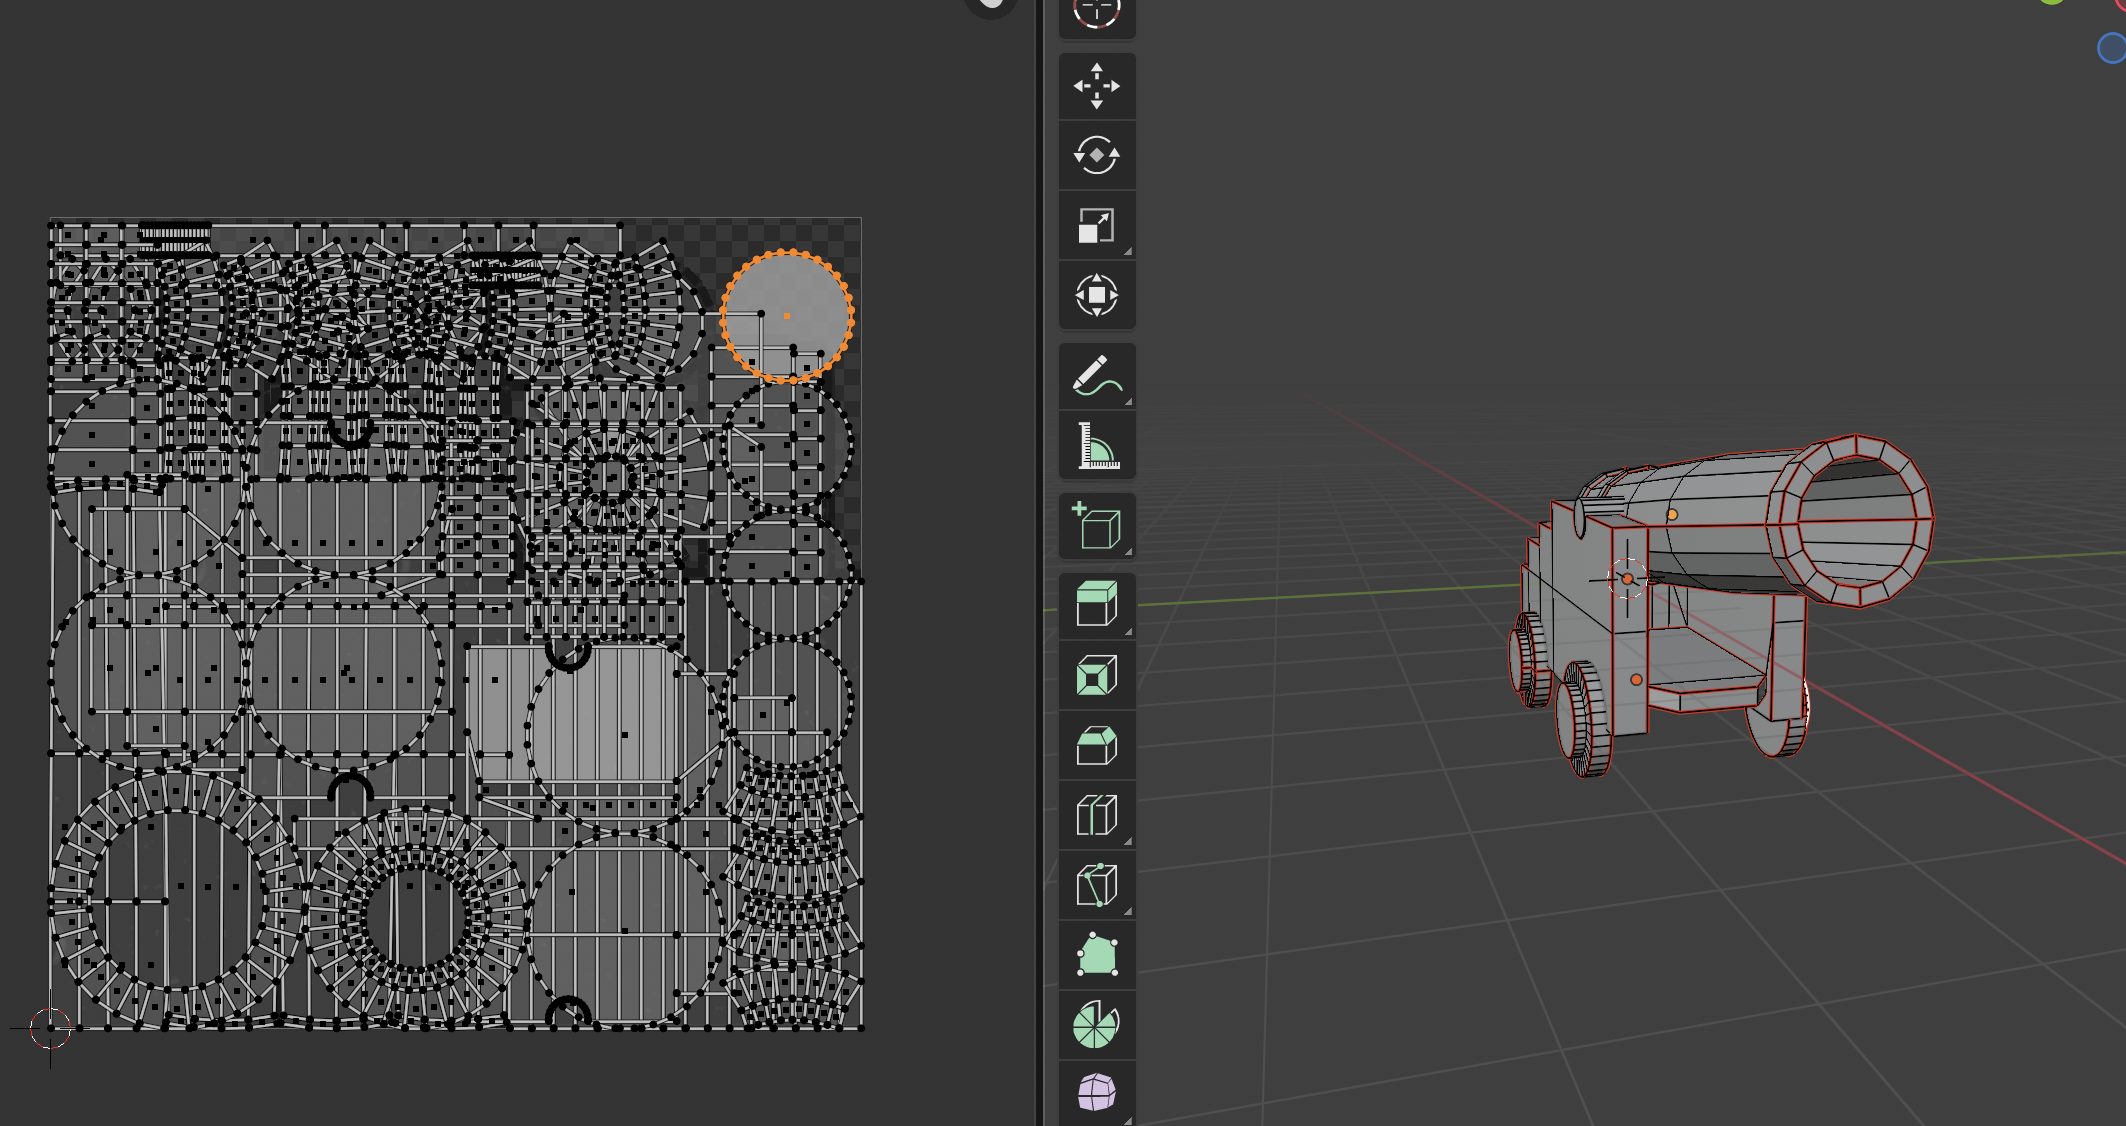
Cannon UV maps
Texturing
All of the textures made for these models were done procedurally with nodes. This was done mostly because I wanted to, no other reason really. A roadblock I encountered with this was blender removing the vornoi noise node, opting instead for the single noise texture node. This is fine however, given that the Fac output is pretty much vornoi noise.
The wood textures (which was the most used one) was comprised of the UV coordinates being plugged into a map node, which then scaled the XY to have a higher Y to X ratio - stretching the UV map. The mapping is then passed into a noise node, which then has the factor fed into a ColorRamp to map the values from greyscale to some nice wood colours. For the planks I used a brick texture that I stretched to look like planks and then fed that into the factor to mix in black to the texture. All of this was also fed into a bump node to create some more detail. This is an over-simplified explanation of this, I could probably do an entire devlog just on the textures but for the sake of my sanity and brevity I will leave it at that. If you think about it hard enough it’s all just noise textures with some bits and bobs done to it.
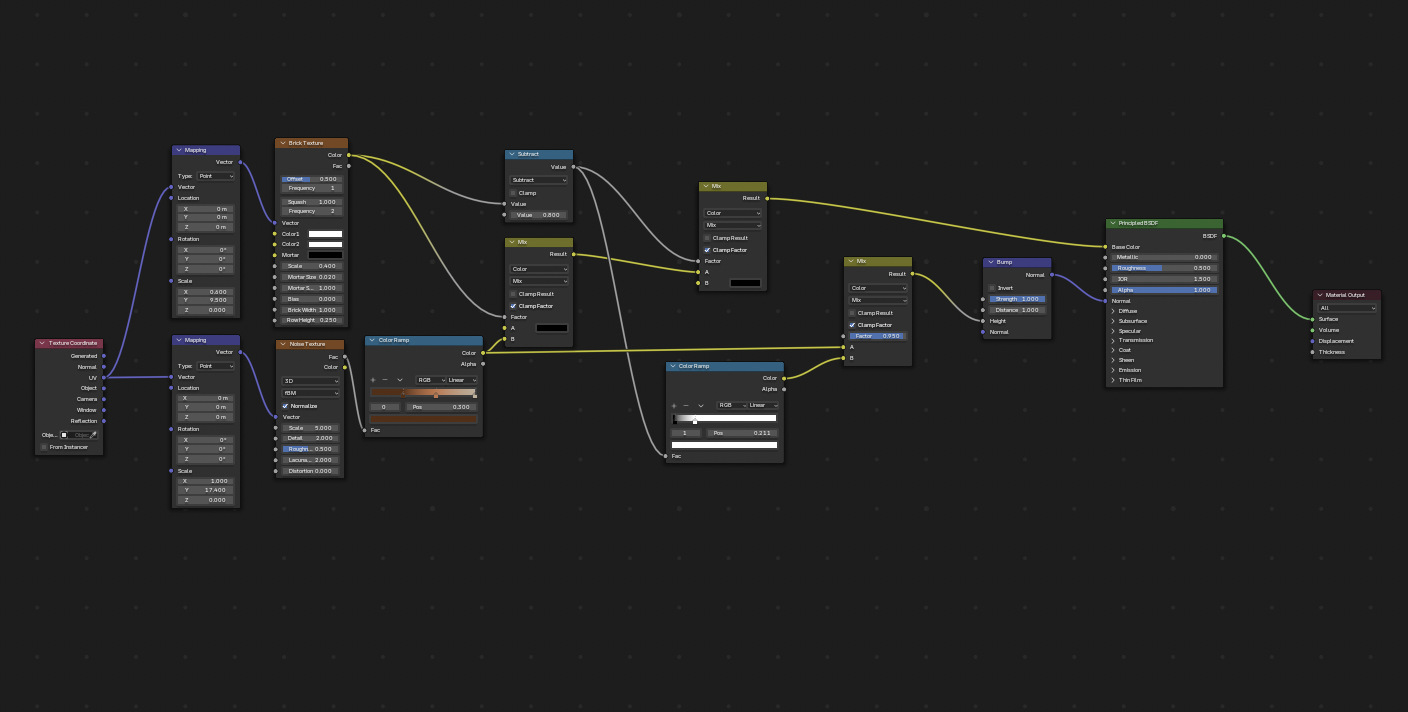
Cannon Base Wood Texture
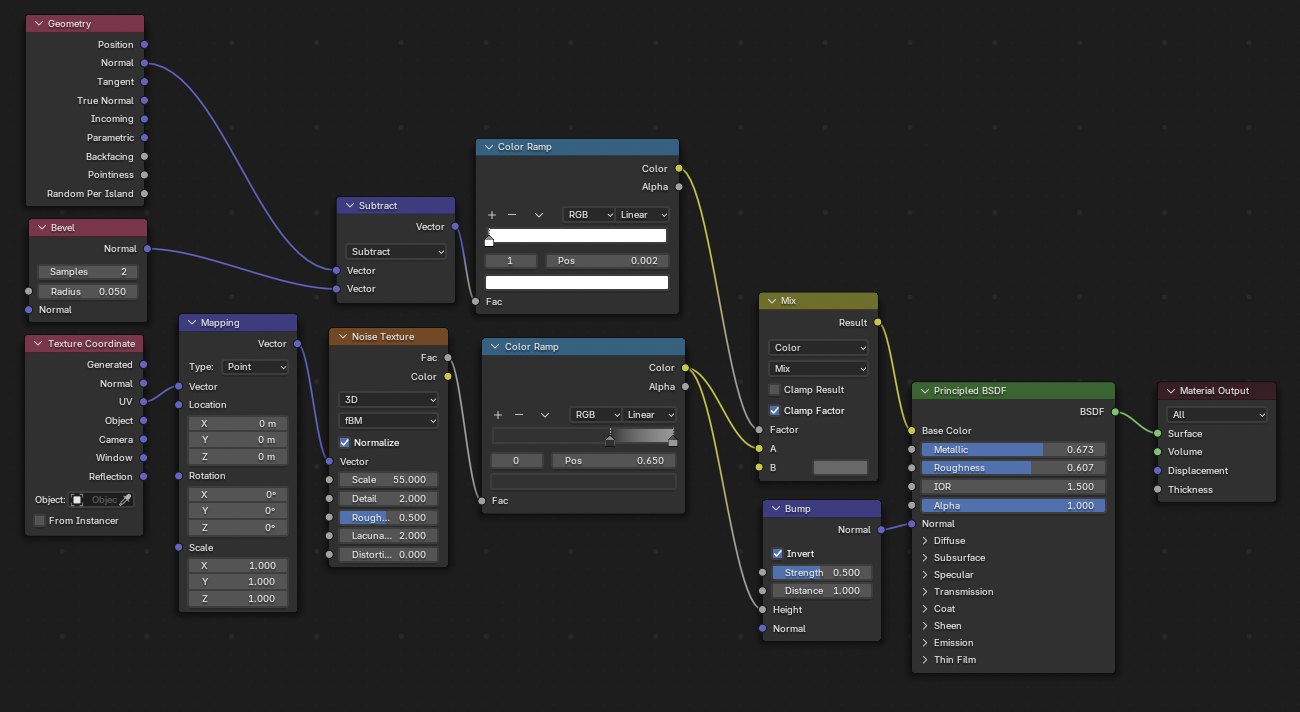
Cannon Barrel Metal Texture
Also of note, for some extra detail I threw in a bevel node on any wood plank textures to create a bit of roughness/wear around the edges, which also accentuates the low-poly look later on. Bevel nodes are annoying because they only show up in cycles rendered view, which meant looking at a lot of noisy half-rendered objects while tuning this part of the texture.
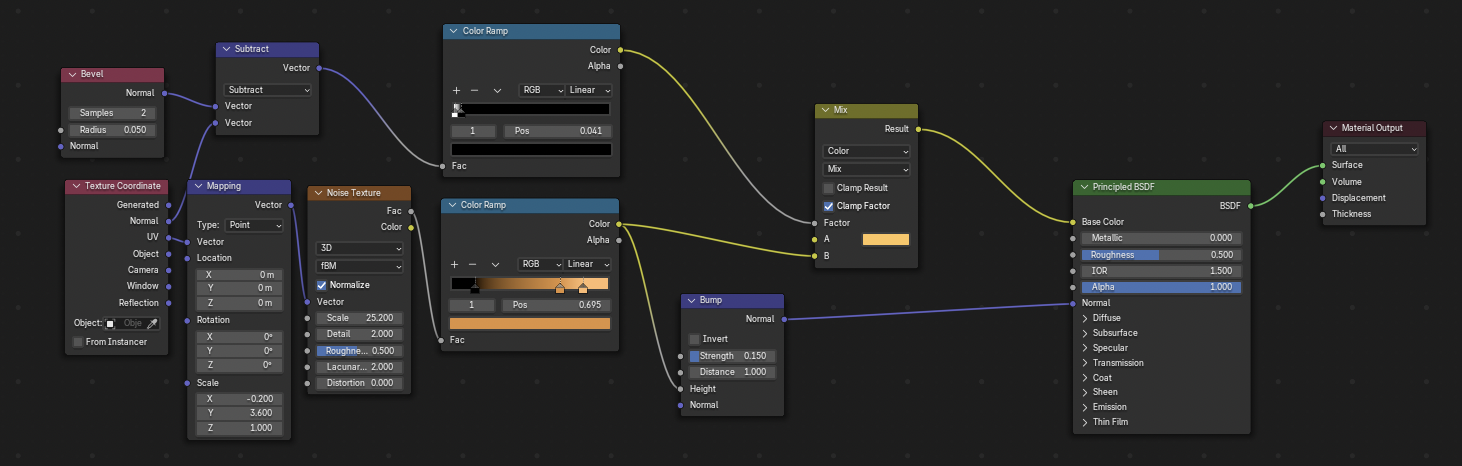
Crate Wood Texture
Baking
Baking allows the capturing of details in mesh and textures and feeding it into the diffuse and normal maps of the objects. The advantage of this is it allows for lower poly models to still retain a lot of the details of high poly meshes while saving on performance and overall complexity. The disadvantage of baking is that it requires a lot of tuning to get the right results.
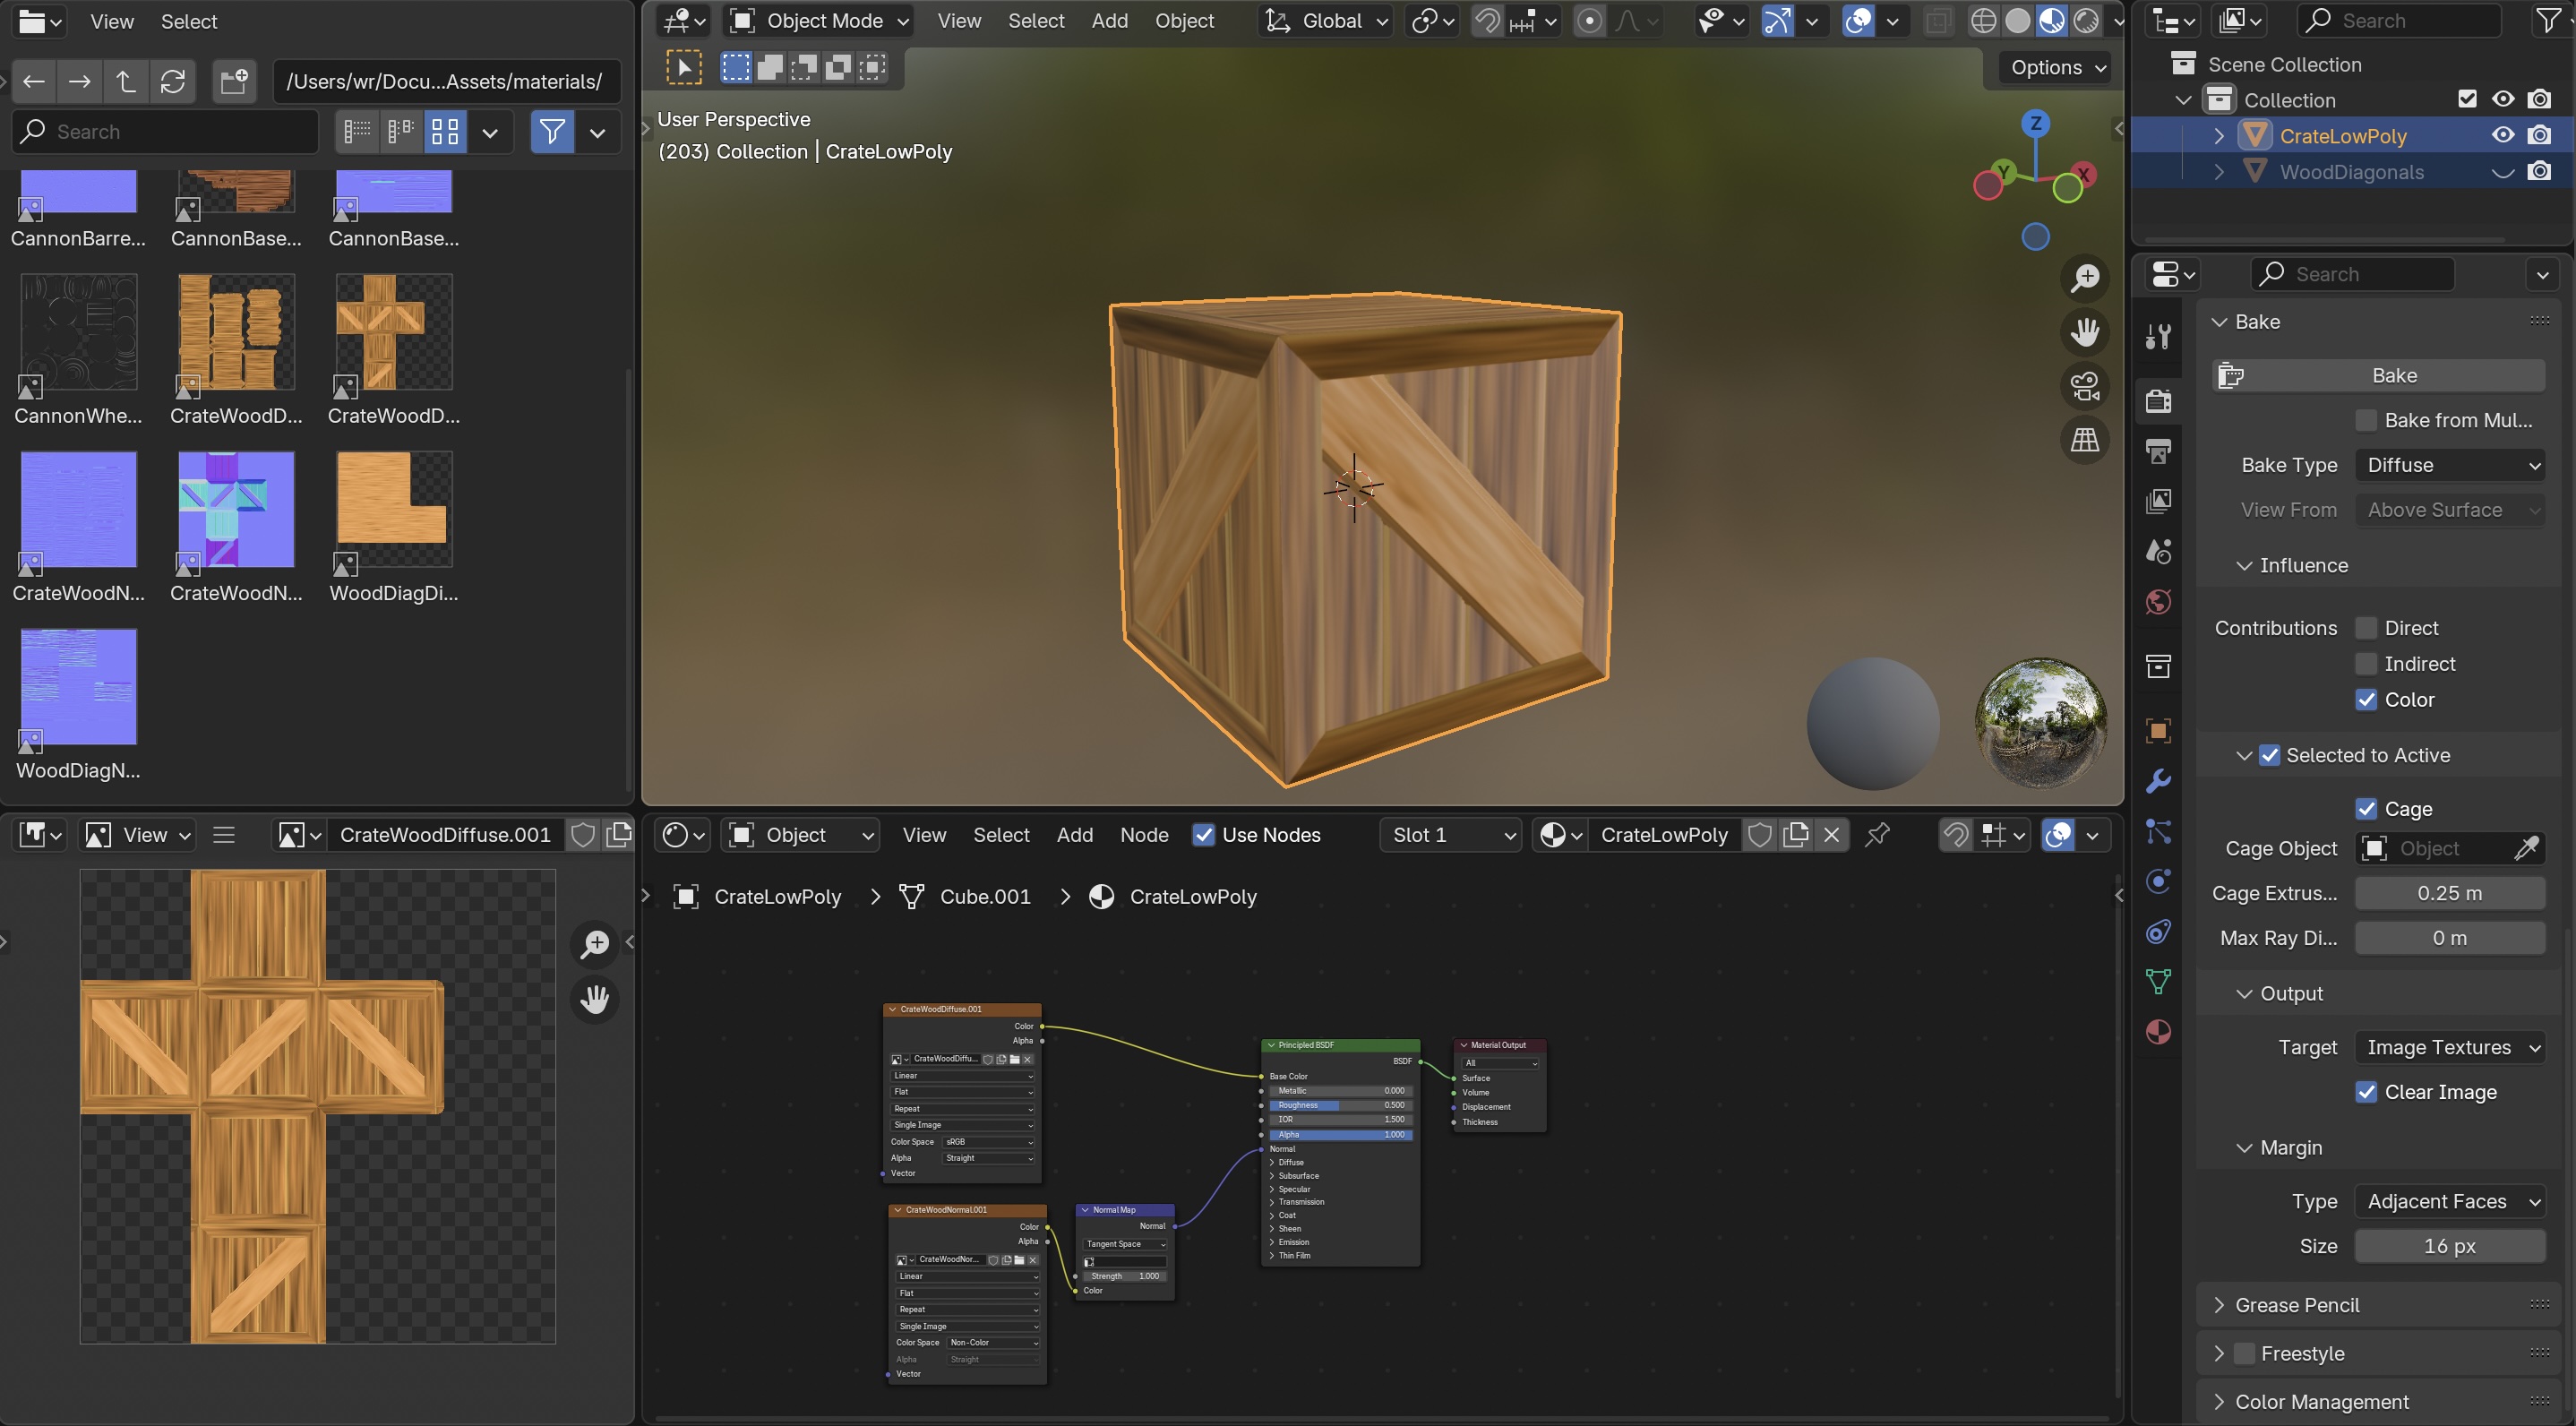
Crate baking setup
The baking setup was… fine. I only baked diffuse and normal maps, which worked fine with object to active and a cage of ~0.25m. The key to do in the diffuse map that I learned was to select only color in the contributions property, to avoid baking in the lighting.
Exporting into Unity
I don’t like to put .blend files straight into Unity just because of previous… experiences. I exported the meshes as .fbx files, scaled them appropriately and then in Unity after extracting the materials I added in the diffuse and normal map textures accordingly. I exported 2 versions of the crate, given that the low-poly mesh was literally a cube and some of the details didn’t bake as well as I would’ve liked and is a bit noticeable closer up.
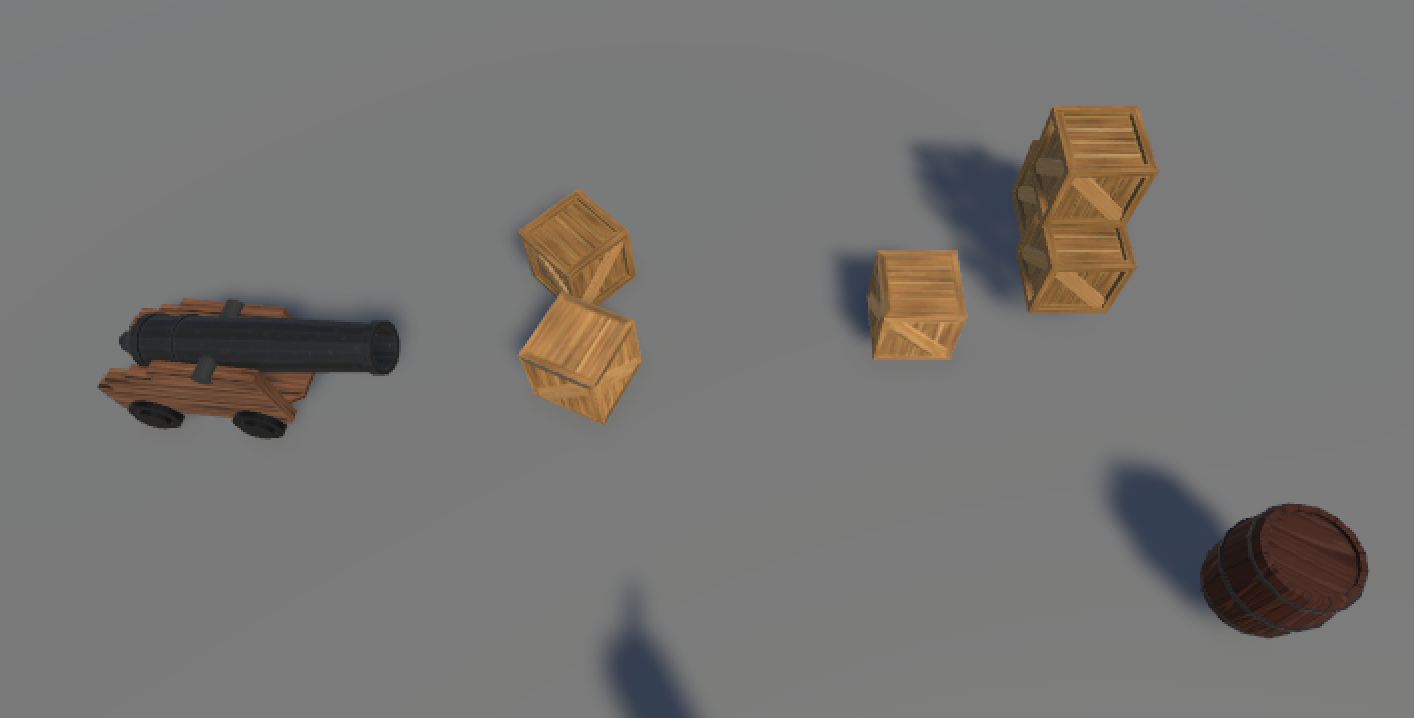
Assets in the Unity test scene.
Reflection
A lot of this work was tedious, with a lot of tuning to do with textures, baking and UV maps. It was a very valuable learning experience however, and I learned a lot about baking textures in blender, how to set up baking and where these techniques are appropriate to use.
Leave a comment
Log in with itch.io to leave a comment.