Devlog #1
Since introducing Stick Fighter last week, we’ve completed our pitch and concept document and moved into actual production work. This week was about laying the groundwork for everything coming next: general housekeeping such as project setup, version control, asset planning, early prototyping, and deliberating on the shape of our first playable slice. After some discussion, we decided to focus on a pirate-themed level. It gives us a fun theme to explore and is consistent with our “childhood imagination” theme.
Version Control, Asset Lists, & Planning
- Unity project created
- Version control system set up
- Asset list mostly finalised and fleshed out with references/screenshots
This might seem like fairly boring work, but getting these foundations sorted now will save us headaches later when we get into the real production of the game.
Will – Modelling Workflows & Experiments
Will began work on modelling some of the assets this week, focusing on perfecting a stick creation workflow and creating prototypes of the player and enemy models. The sticks are being created by making edges in the desired shape, converting the edge to a curve, adding a bevel, and then converting it back to a mesh for polishing. This workflow creates a very easy and rapid way of producing these models.
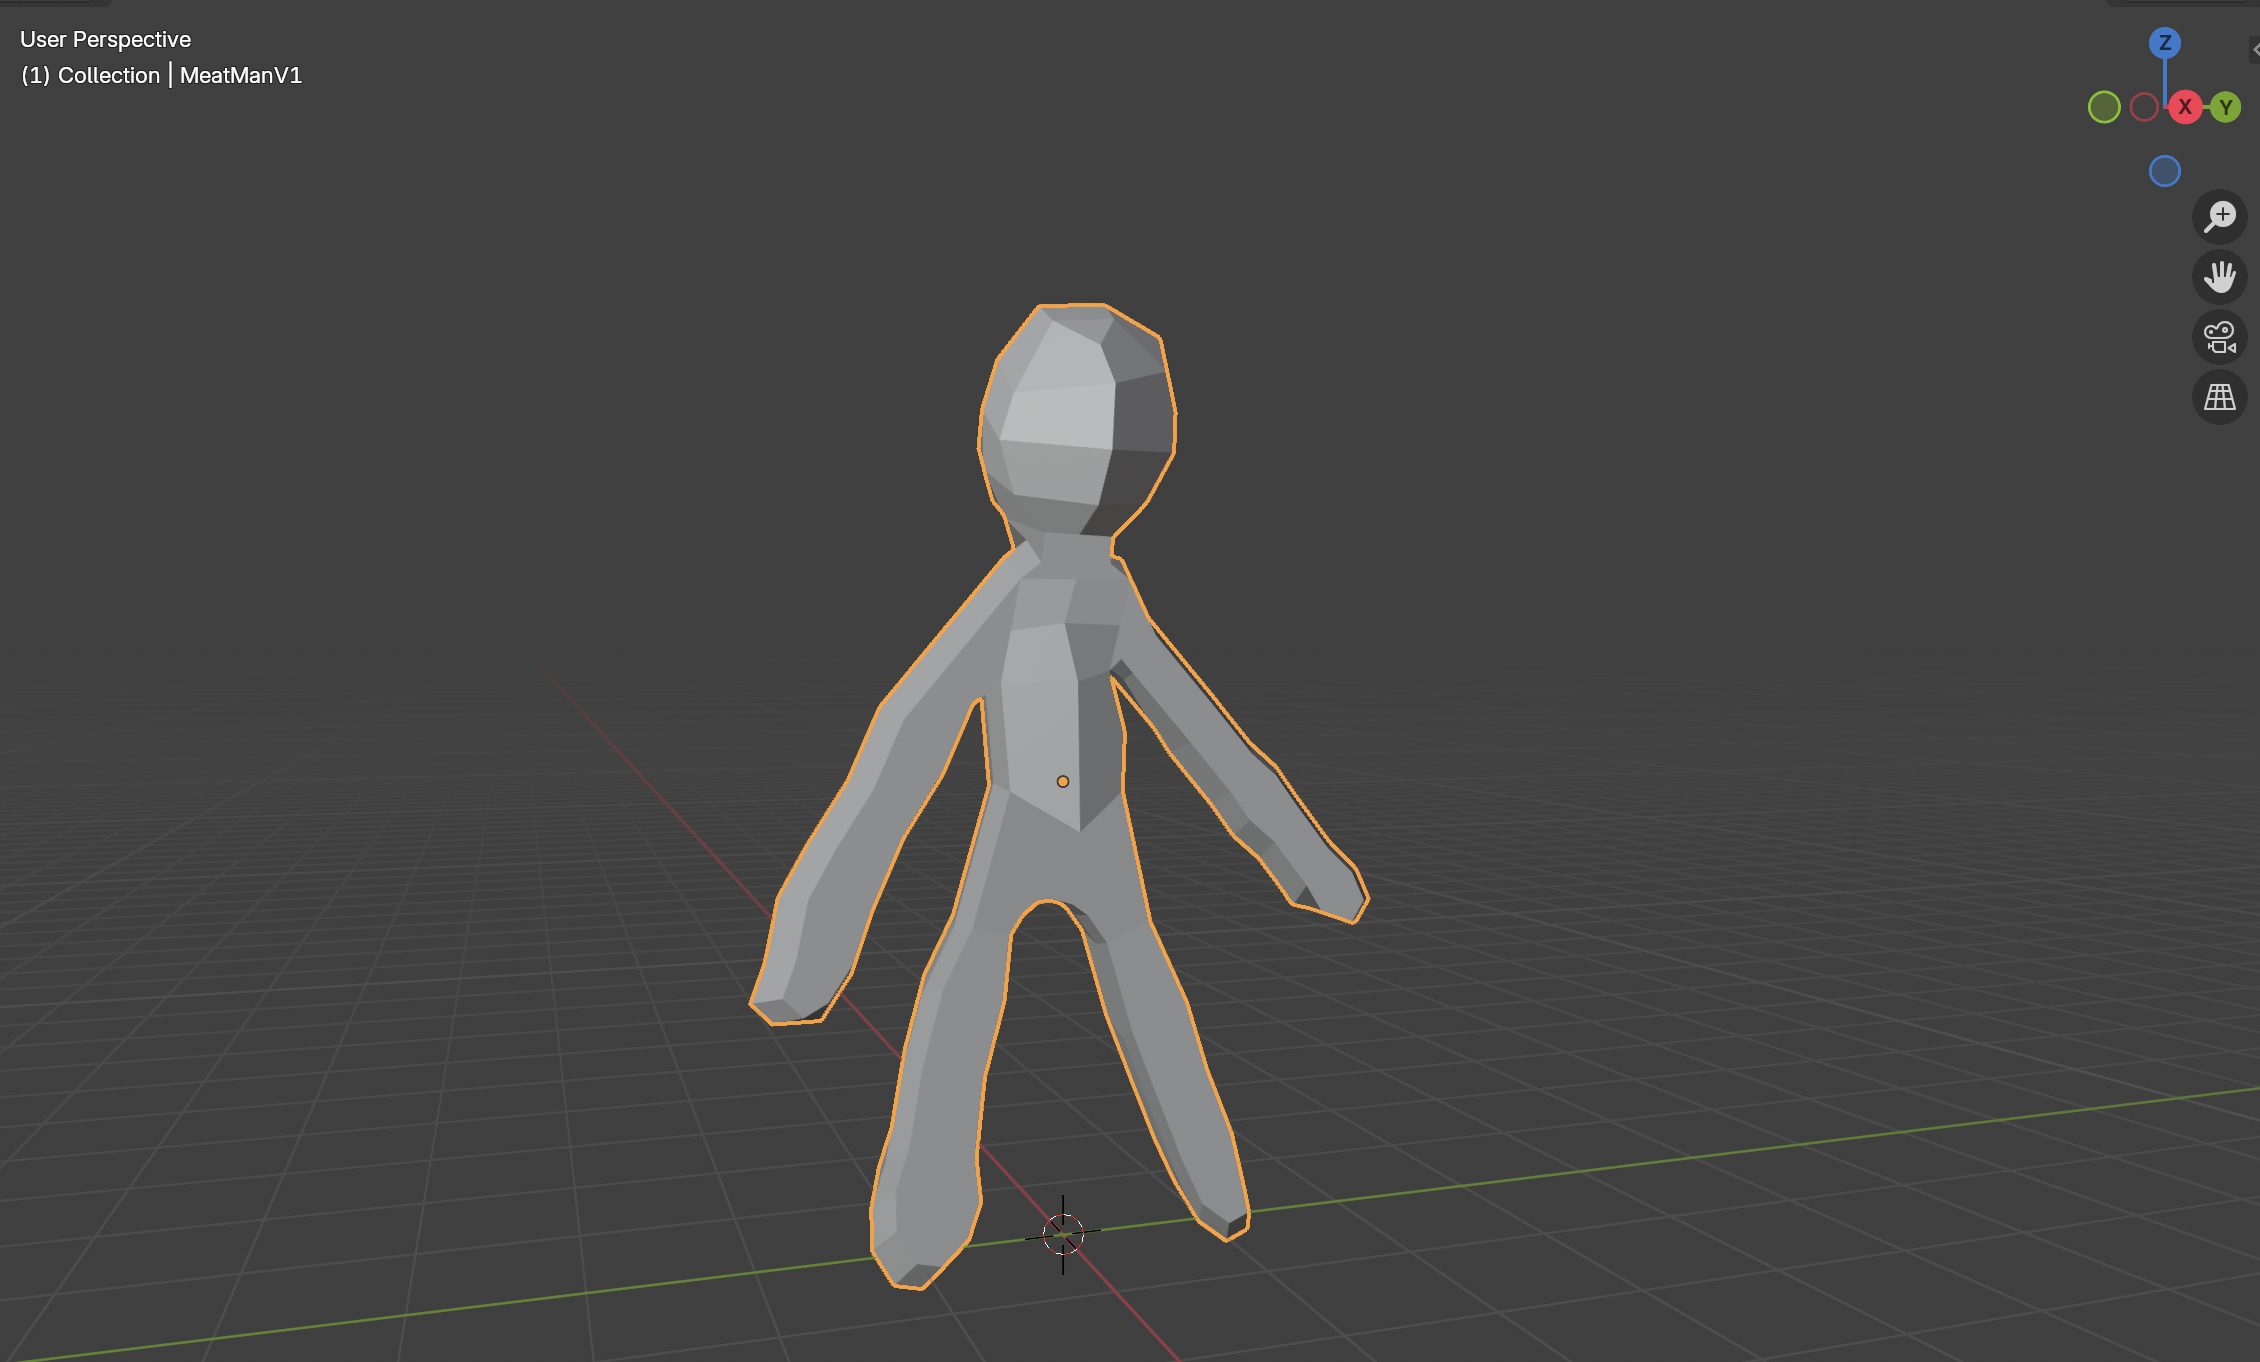
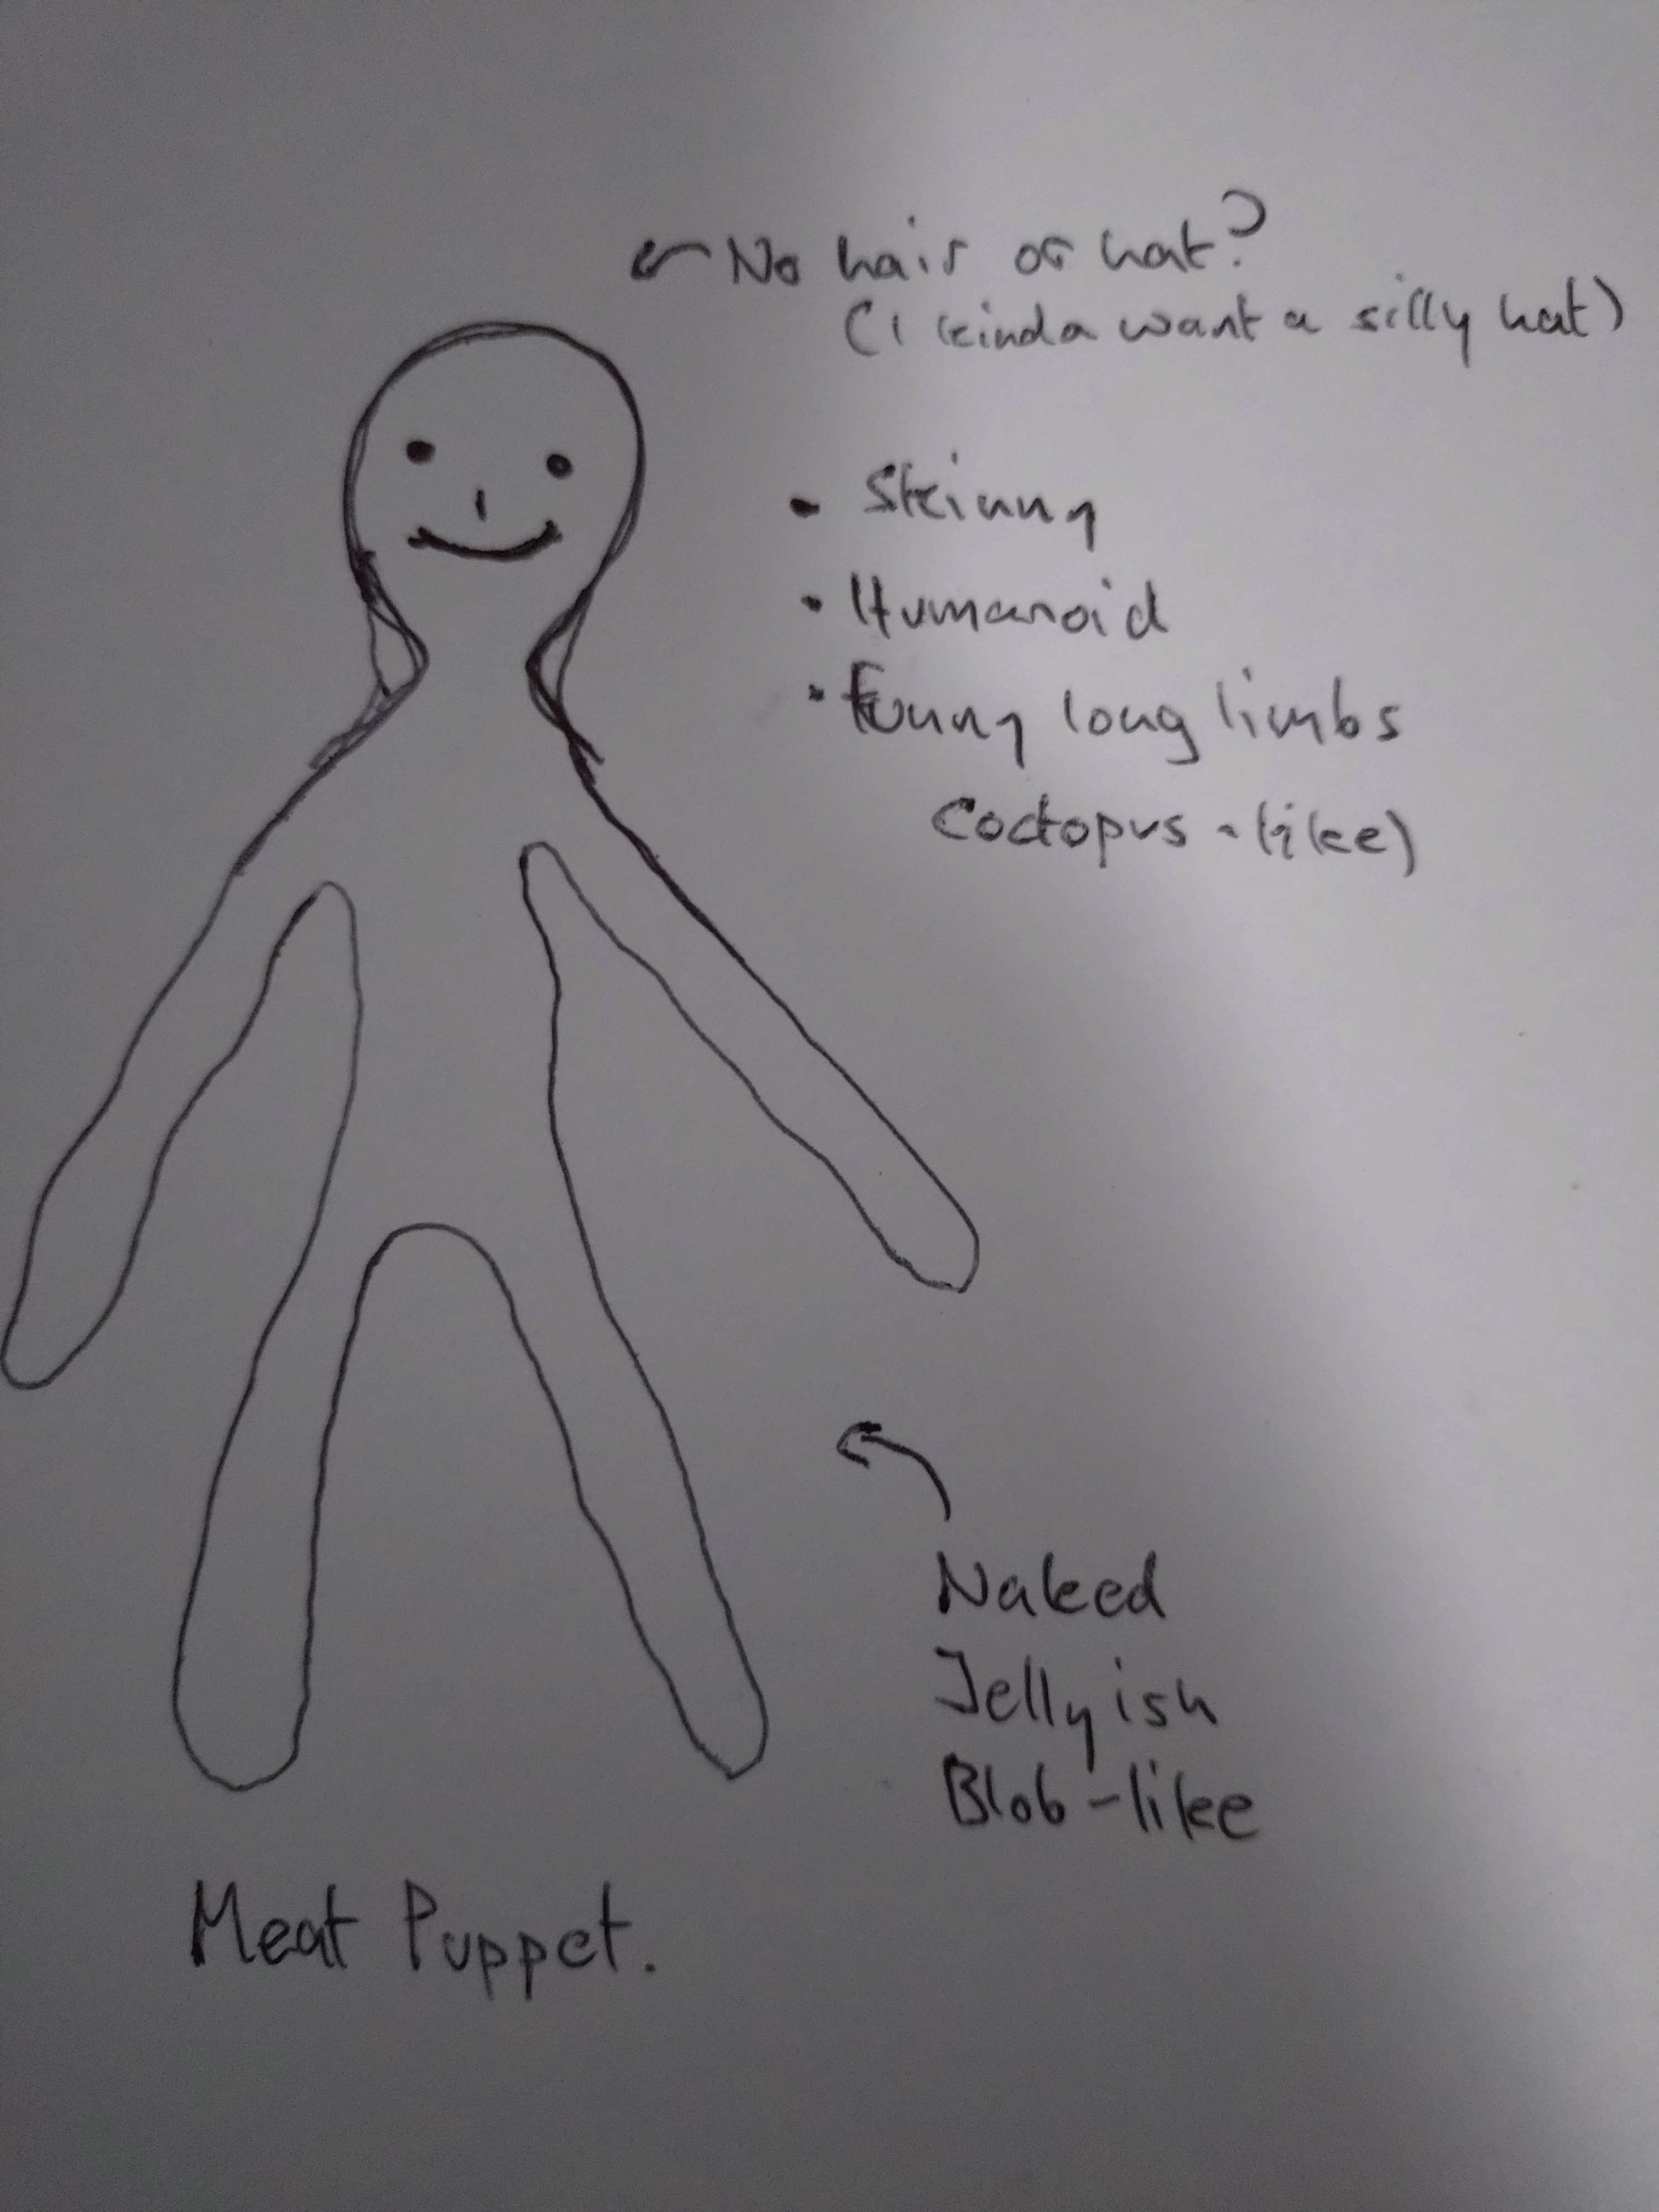
Player/Enemy Model Early Stages:
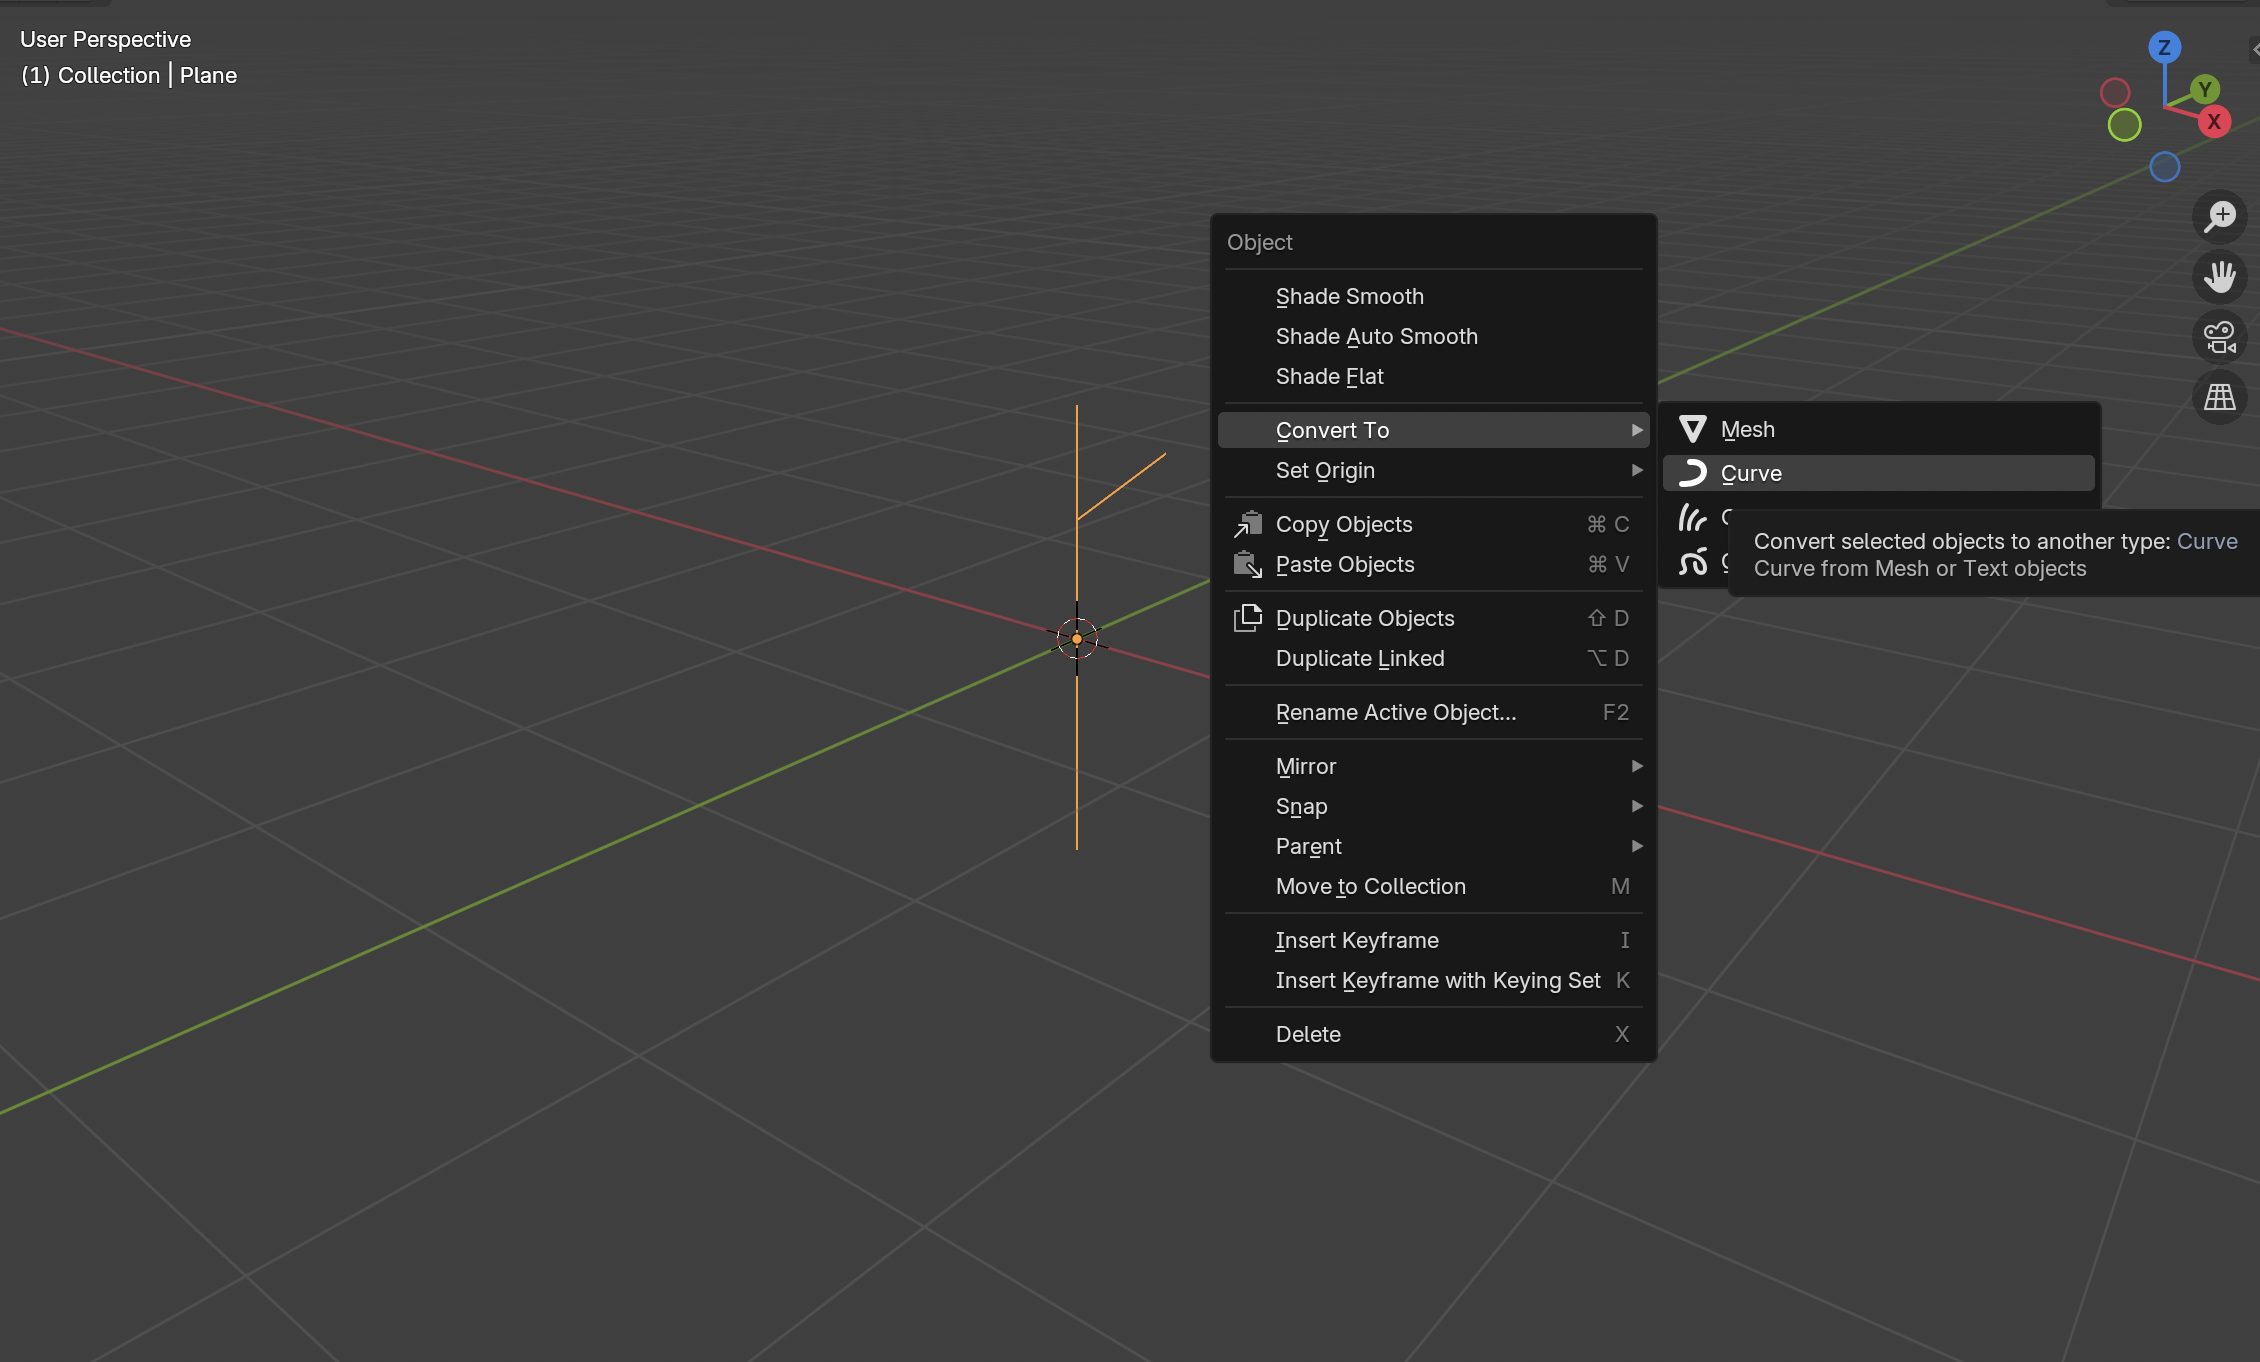
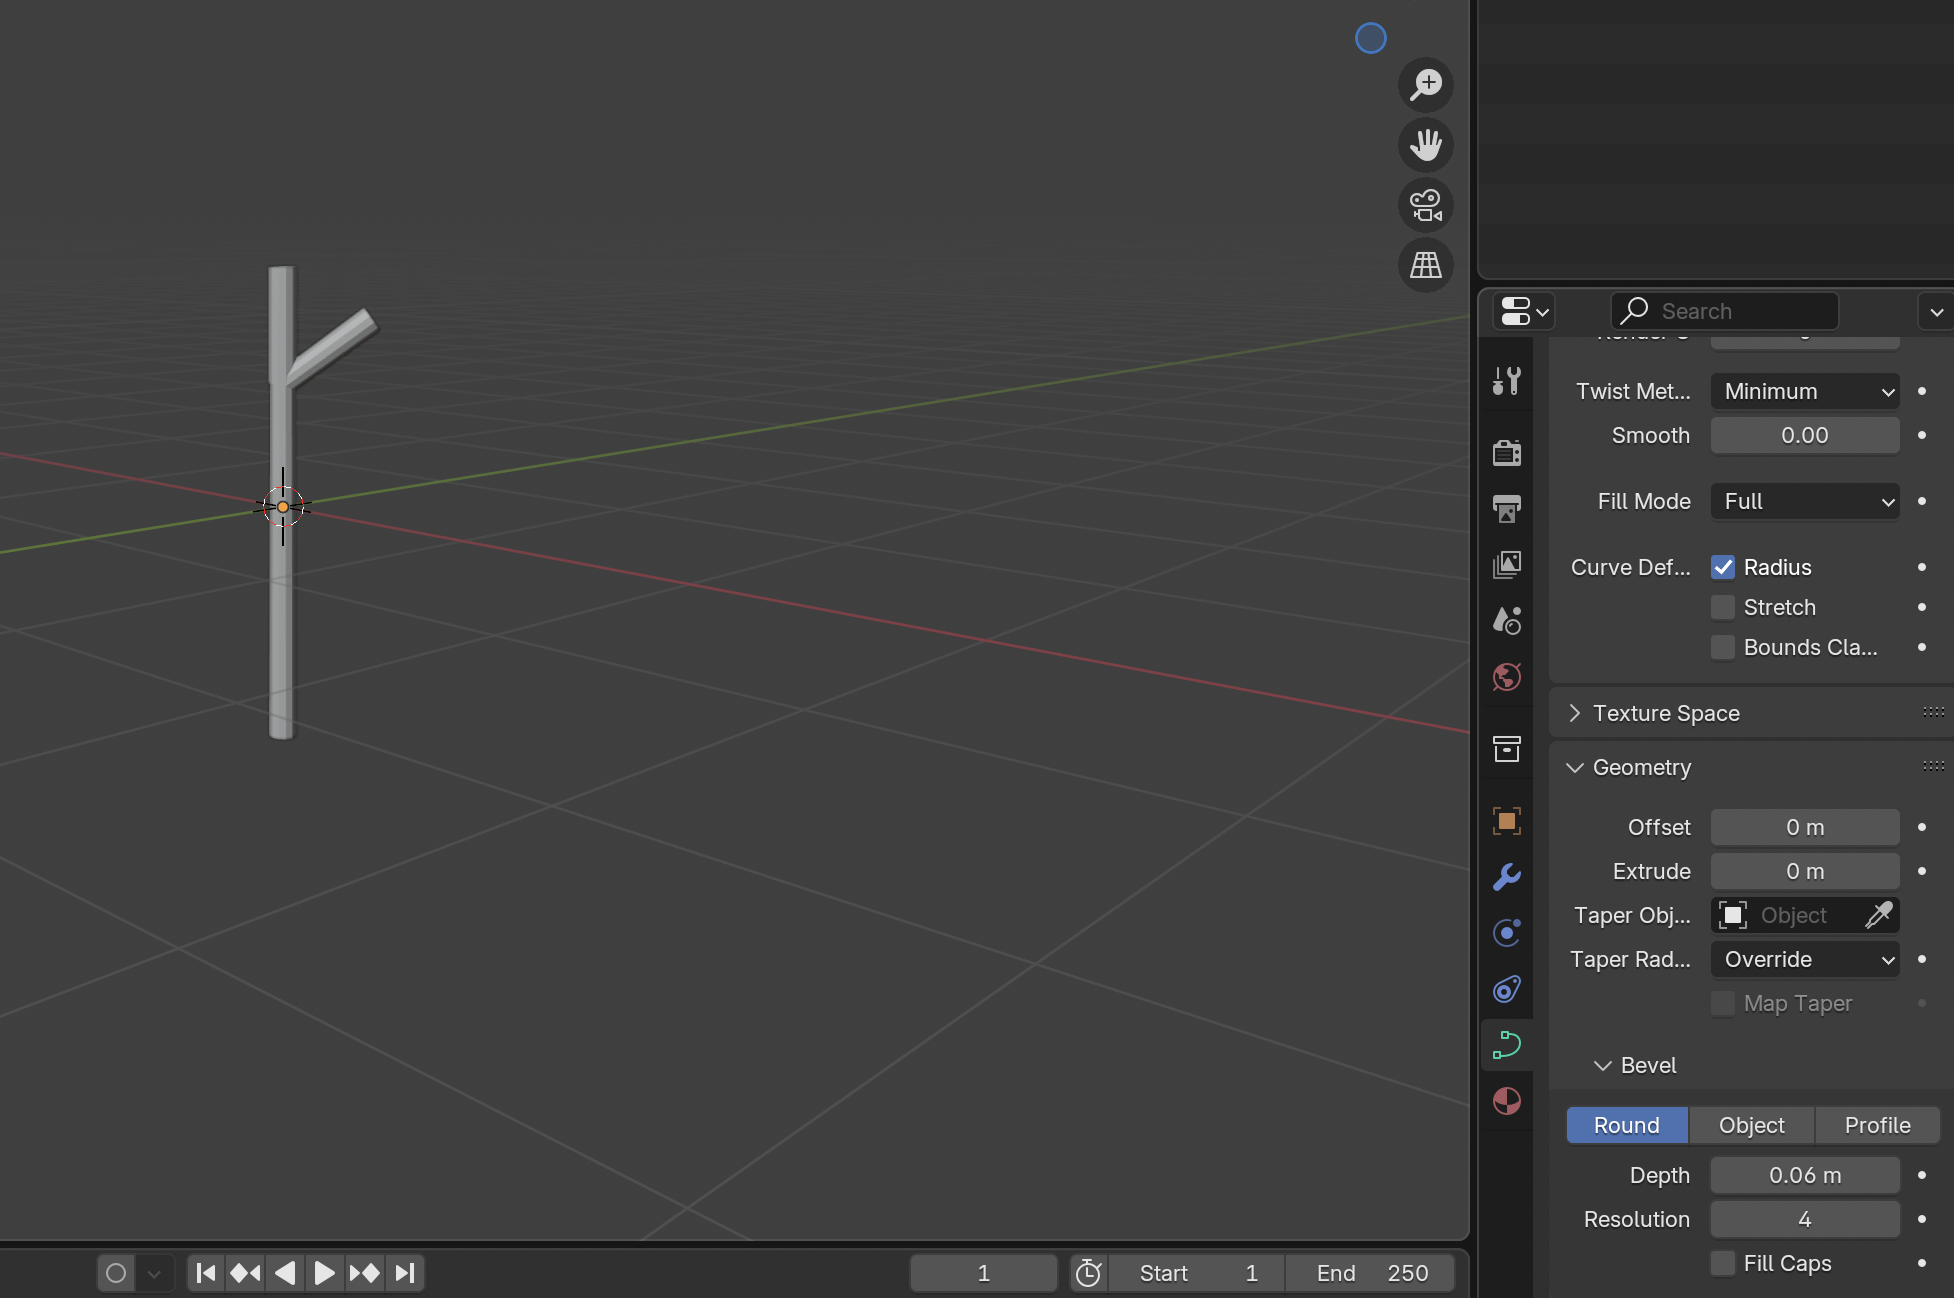
Stick Workflow:

Failed Attempt at a Stickman Dev Asset:
The mesh became too convoluted to rig properly.
Hakki - UI & Water Shader
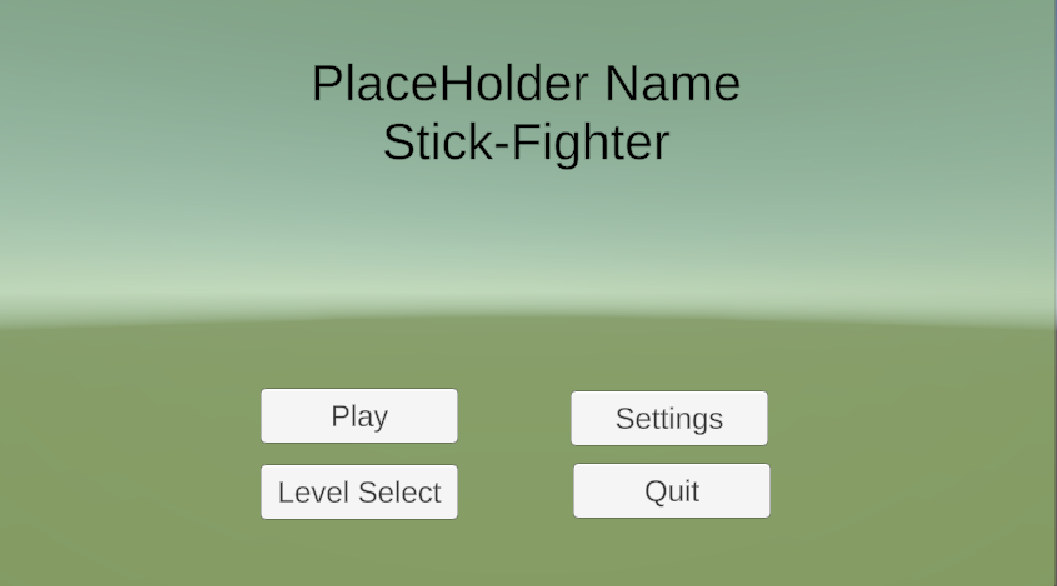
Hakki started work on some of the basic UI of the game this week. This included building the main menu which features a level select, settings, quit and a play button which isn’t fleshed out yet. Work also began on the in-game UI, covering elements like time, score, and the wave number.
For the pirate themed level, Hakki created a plane with a water shader which fills the area, placing the camera in an isometric view to better showcase the scene. Additionally, Hakki helped with finding assets for the asset list, mainly focusing on low poly assets which would fit our ideal design style. The asset list is not final yet, so it is not guaranteed that all the assets found will be used in the final prototype.
Main Menu:
Water Shader and Level:
Josh – Player Input, Movement, & Camera Systems
Josh implemented basic player movement and aiming this week, while learning a new toolset along the way. Instead of sticking with the old Unity input system that he has used before, he decided to try the Unity 2024 Input System for the first time. Josh notes:
“The documentation made the system look much cleaner and more flexible than the old one, particularly with including multiple different control schemes, such as keyboard/mouse and gamepad. There is a bit more initial setup to do upfront, but it already feels like it’ll pay off.”
Player movement (WASD and Left Stick) and aiming (mouse/right stick) both work now, using fairly simple logic. Movement is handled by capturing a Vector2 input and applying it to the player’s Rigidbody each frame. Aiming is done by raycasting from the camera to the mouse position and rotating the player to face the hit point. On controller, the player rotates in the direction of the right stick input. This feels quite natural with the isometric camera angle, although it will certainly be iterated on to get more of a hectic, funny movement system.

Finally, Josh added a camera follow system. It keeps the player (or any set target) centred with a slight isometric offset that is configurable in the Inspector. This is very unlikely to be how the camera works in the final prototype but is suitable for testing purposes for the time being. The isometric view made for a very different and interesting experience when moving and aiming, even in the empty greybox testing area.

Eve – Greybox Level Layout
Eve began work on the level design this week, starting with planning how the level will look and fit together, as well as deciding how it will be constructed using Unity ProBuilder. Most of the time was spent experimenting and familiarising with ProBuilder before beginning work on the actual level layout.
Next Steps
- Refine player movement to feel more weighty and chaotic, while also being responsive.
- Start implementing basic attack/combat mechanics.
- Prototype enemy behaviour/AI.
- Start implementing a health and damage system.
- Begin fleshing out the arena environment with interactive elements and props.
Leave a comment
Log in with itch.io to leave a comment.