Bonus Round!
I just could not leave it there…
My main goals with this bonus round were: write my own post-process shader and get better feeling movement.
Movement
In my journey for better movement, I stumbled across a YouTube video discussing Quake III’s movement quirks, and how they happen in code. (source)
Given I am quite fond of Quake (and Source) movement (avid TF2 fan), I decided to try my hand at writing my own weird version of Quake III movement in Unity… which didn’t get very far. I managed to tackle the accelerate function as well as camera rotation however that is about as far as I got on my own (the pieces were there, I just didn’t want to sink hours into this). After realising I was a little in over my head trying to write my own frankensteined Quake III / my own weird movement system, I stumbled across a GitHub repository that had ported the Quake III movement into Unity. Exactly what I needed!
Quake III Movement For Unity: link
This setup was super-duper simple, add a character controller, drop the Q3Movement script onto it, specify the camera and then it just works! Super awesome, very fond of the movement now. Obviously this is now a first-person setup as opposed to the other portfolio items which are third-person but honestly, I do not care! This is my bonus round I choose the rules.
Custom shader
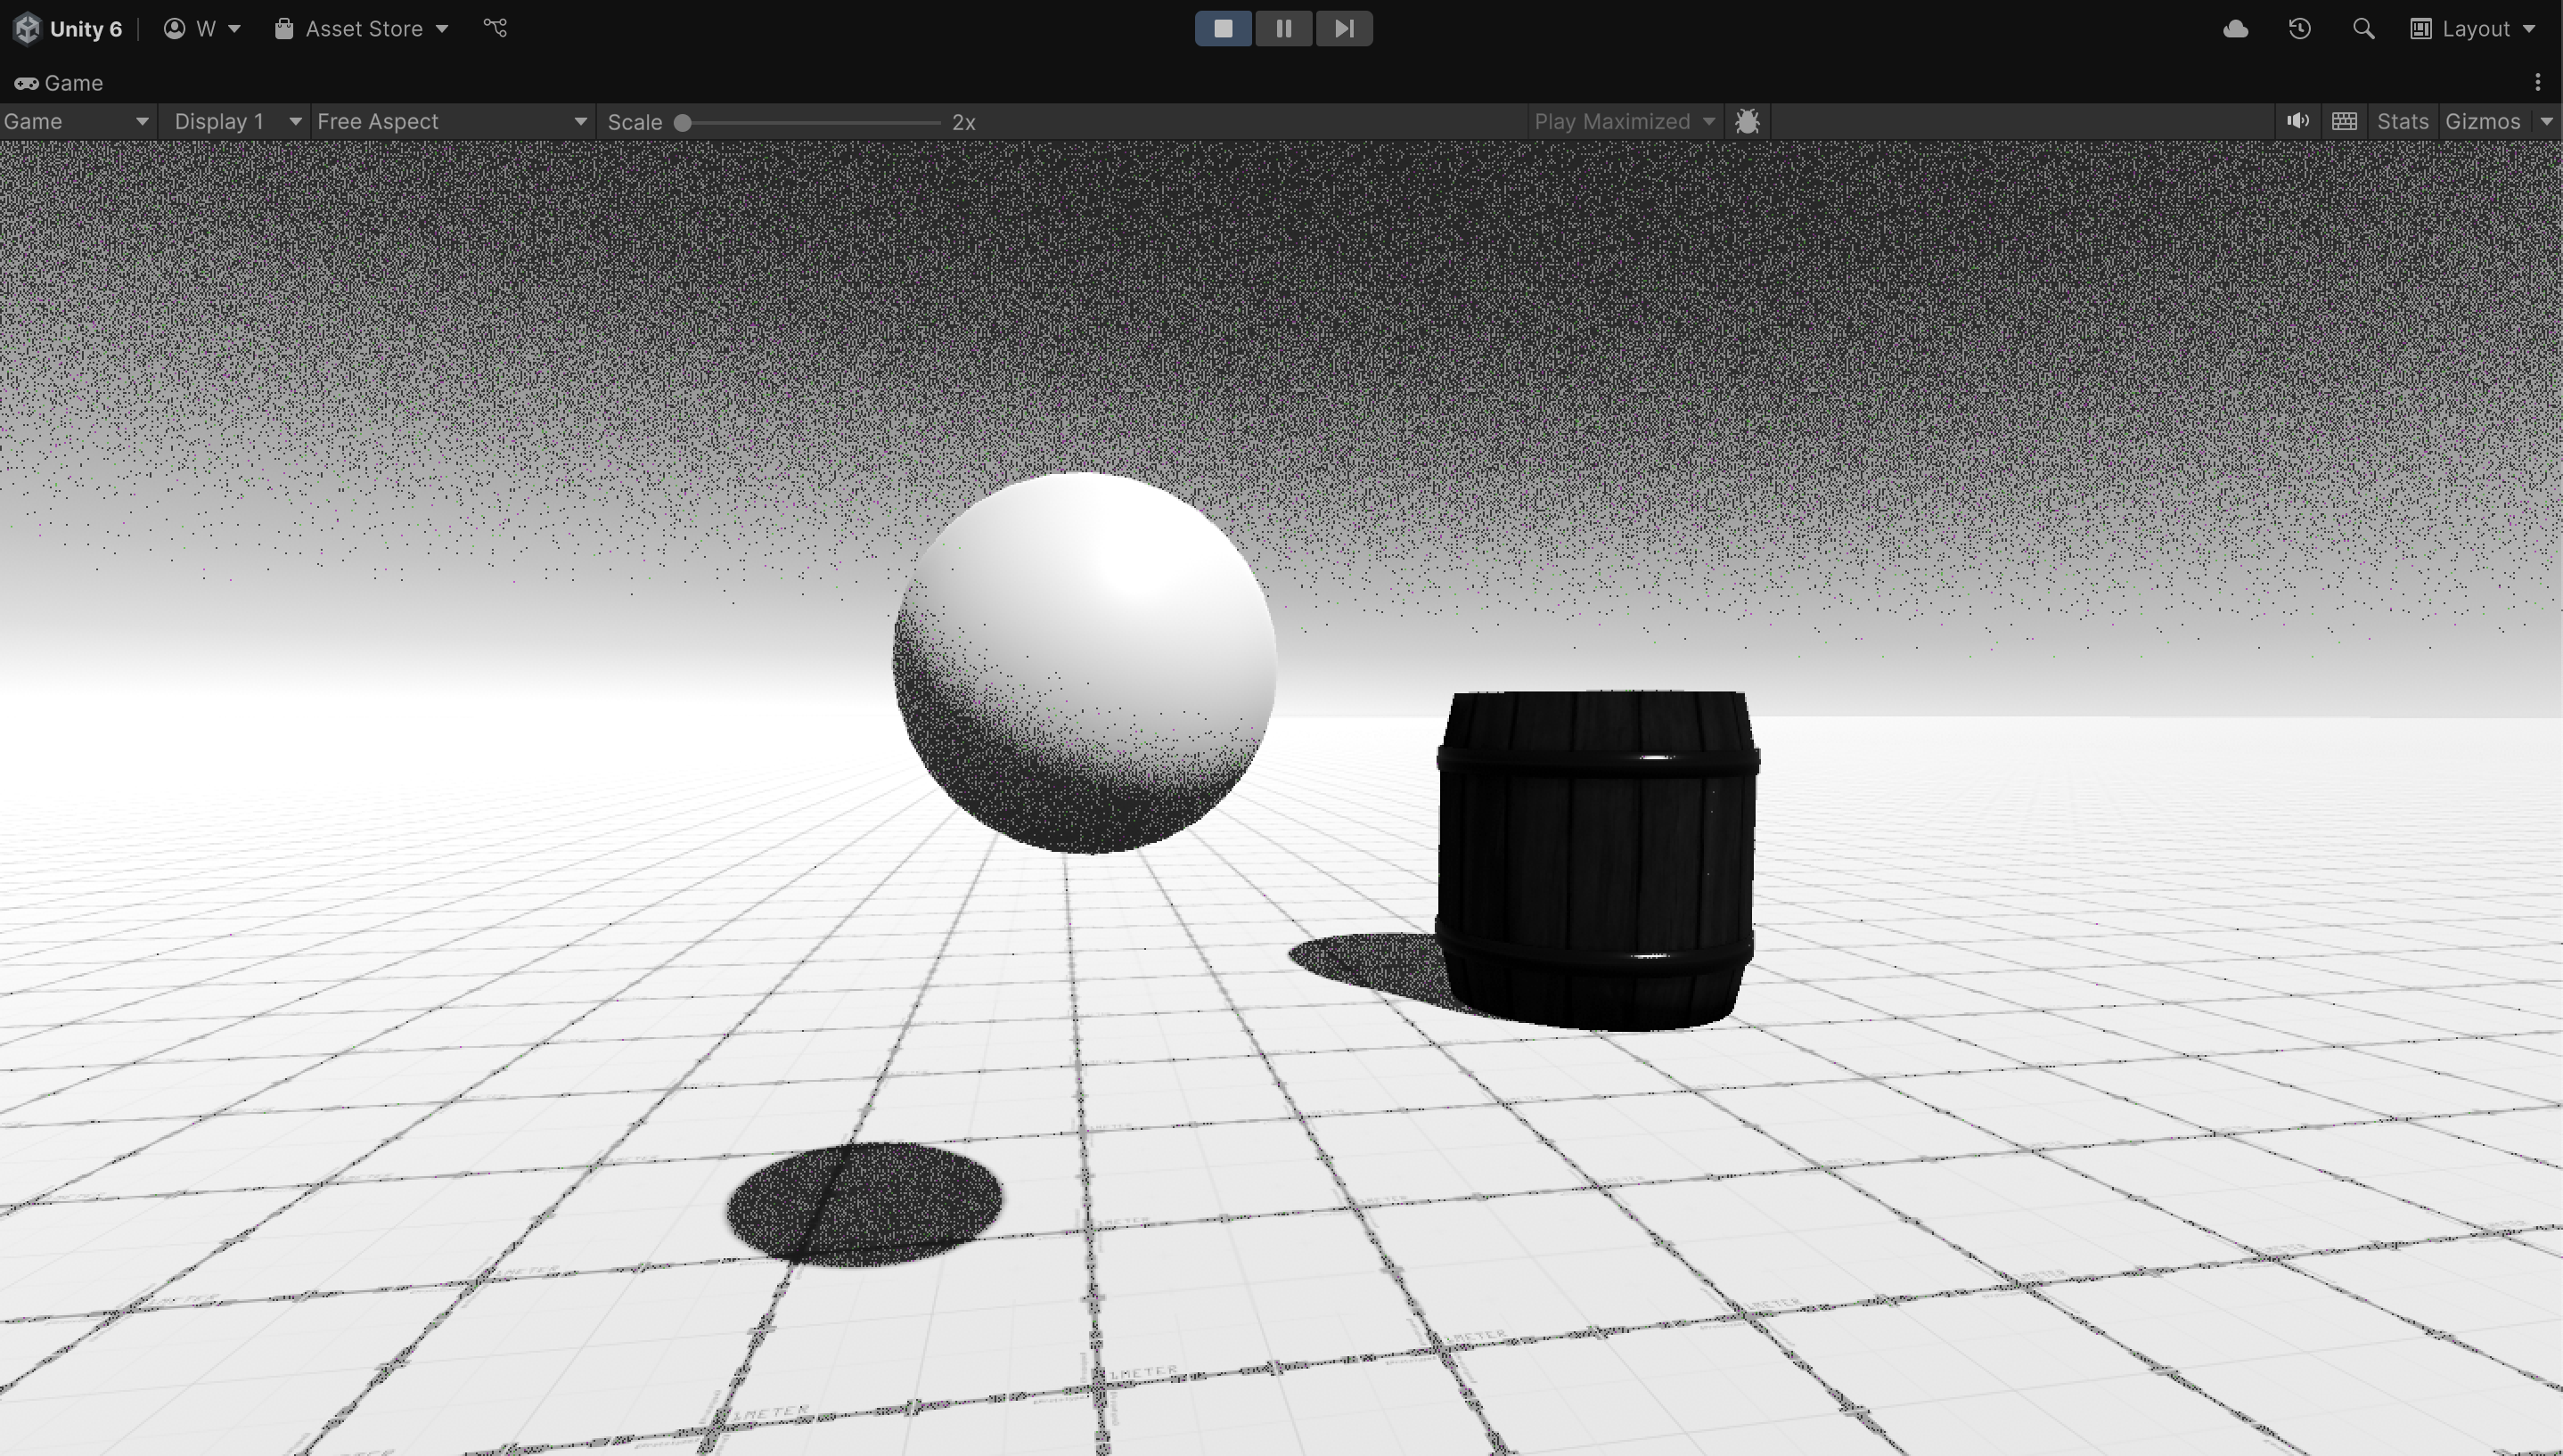
For the shader I decided to try my hand at writing a 1-bit dither shader, inspired by Return of the Obra Dinn. Ever since I saw that shader I always wanted to try make my own (in fact it was one of the inspirations/motivators for doing my degree at university, I adore that game). I attempted this shader ages ago when I was still in high school (pre-URP days) and made a very hacky shadergraph that was actually a camera projecting onto a plane with a dither shadergraph texture that was then rendered by the main camera… Not exactly the most elegant setup, but it did kinda work.
So now this is actually attempt #2. Dither shading is actually insanely simple, and works by applying a noise texture over your render output then clamping each pixel in the render according to the noise. To do this I modified the given shader and script from the last tutorial to simply take in a noise texture, scale it appropriately and then finally clamp each pixel to the according noise value. This was insanely nightmarish because the documentation for custom PostProcessV2 is… interesting? It leaves a lot up to the imagination (or assumed prior experience, which I don’t really have I guess). So after scrapping and scrambling I finally managed to get the shader working by passing in the noise as a TextureParameter in the script and a sampler2D in the shader, which meant the scaling had to be manually applied in the effect because TextureParameter. This approach does allow fine-grain control over the scale of the noise though, so I guess it’s a feature and totally not a restriction.
I decided for the sake of my sanity to leave it at that. Further improvements (from easy to hard) could be:
- Colour controls: it is 1-bit so this would be using a custom gradient over grayscale
- Texture projection: Make it so the texture can be projected over 3D space instead of staying static to the camera
- Edge detection: detect edges to separate objects and details and make the image clearer
Closing thoughts
This was a fun experiment, re-creating my favourite movement model and my favourite shader. The movement was an interesting learning experience, and definitely one I would like to re-visit in my own time to re-attempt my own version of the Quake III movement in Unity. The dither shader I am… okay with. It works and it looks great on a still frame, but also as mentioned earlier it has many areas that could be improved. A restriction I really felt was writing it as a post processing v2 shader specifically, instead of just as a custom camera or pipeline shader. PPv2 really neuters shaders for the sake of cross-platform compatibility, cross-compiling to GLSL, the heavy use of macros and the weird scripting in particular really make the experience hellish. Writing this directly as a shadergraph in URP or my preferable alternative just make my own post processing script on the camera that uses the OnRenderImage() routine to blit the render.
Fun times, a lot was learned :-)
Leave a comment
Log in with itch.io to leave a comment.